使用Moveit2
一、为URDF添加碰撞描述
拥有碰撞体积,才能更好的计算机械臂的运动轨迹,防止机械臂发生一些意想不到的问题。下面为机械臂添加碰撞体积,只需要修改arm.xacro这个文件:
以base_link为例,现在是没有碰撞体积的:
	<link name="base_link">
      <visual>
        <geometry>
            <box size="0.4 0.4 0.1"/>
        </geometry>
        <origin xyz="0.0 0.0 0.05" rpy="0.0 0.0 0.0"/>
        <material name="grey" />
      </visual>
</link>添加碰撞体积,只需要在link组件里加上collosion标签,collosion标签和视觉标签里的内容一致,这样显示的就是真正的碰撞体积。(如果零件复杂,也可以简化碰撞体积的结构,可以让计算更简单)
	<link name="base_link">
      <visual>
        <geometry>
            <box size="0.4 0.4 0.1"/>
        </geometry>
        <origin xyz="0.0 0.0 0.05" rpy="0.0 0.0 0.0"/>
        <material name="grey" />
      </visual>
      <collision>
          <geometry>
              <box size="0.4 0.4 0.1"/>
          </geometry>
          <origin xyz="0.0 0.0 0.05" rpy="0.0 0.0 0.0"/>
      </collision>
</link>只需要给所以有实体的link 加上collosion标签。
这里代码太长,就不贴了,在本节后面的链接里自行寻找。
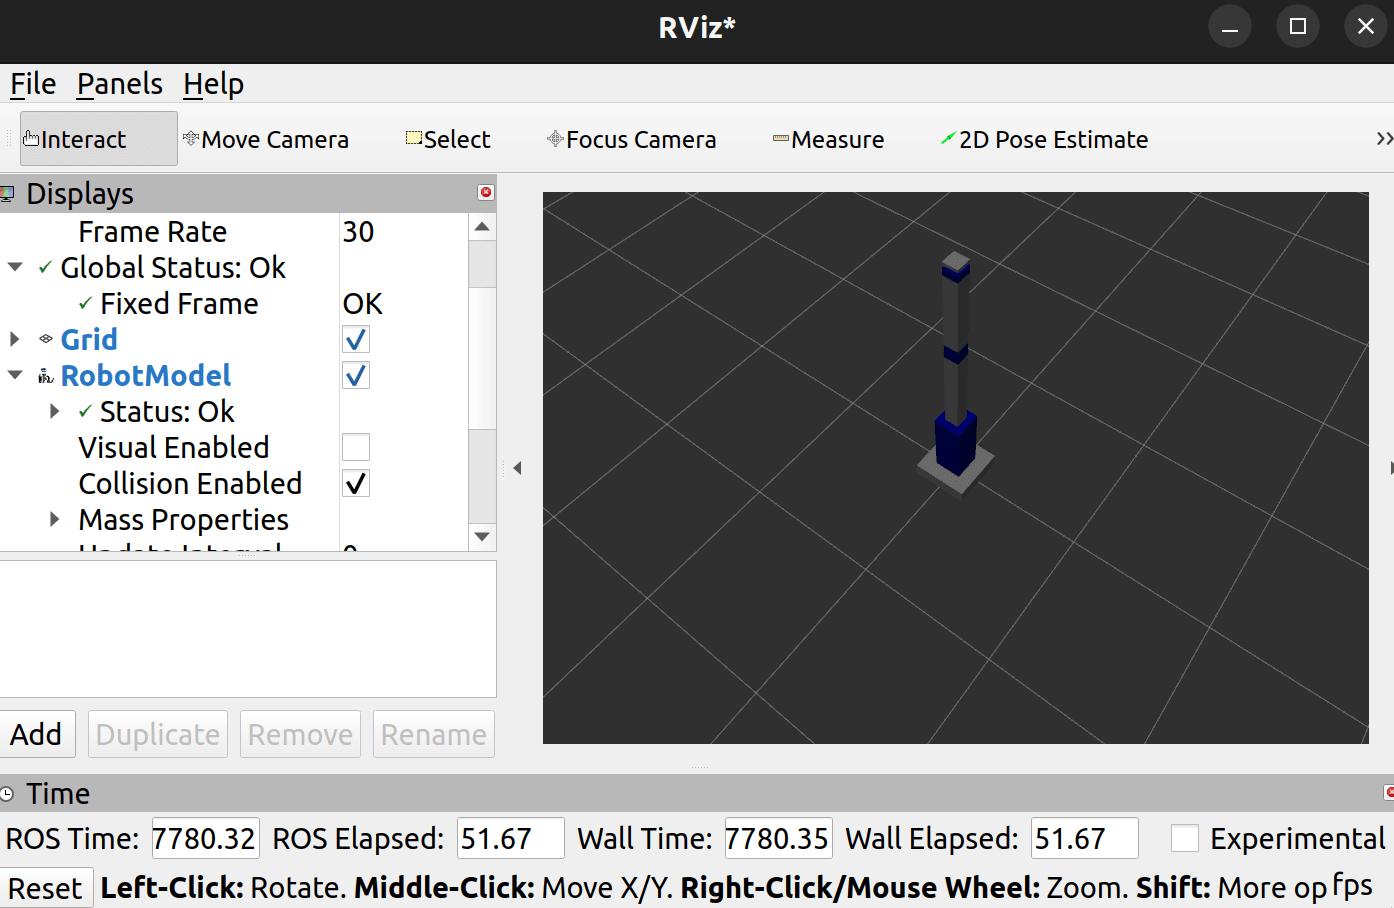
最后在可视化工具里显示碰撞体积如下:
代码: https://github.com/DuRuofu/moveit2_learn/commit/459522fd2d176579e48db462ebc34c5e7694e826
二、配置Moveit2
2.1 启动配置助手
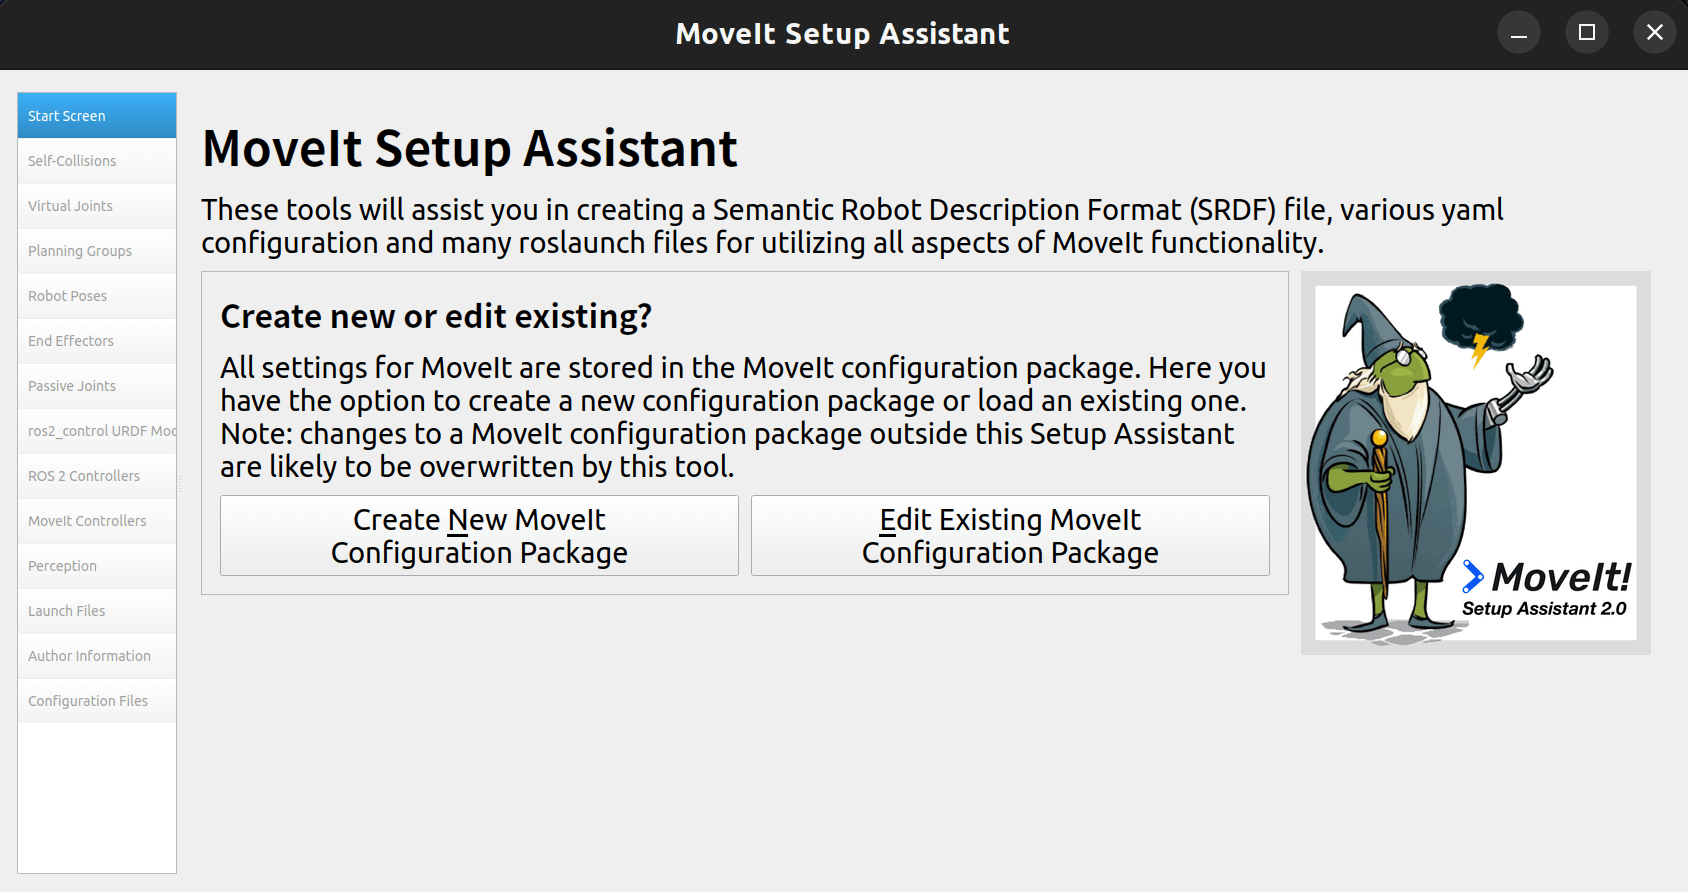
我们启动Moveit2 配置助手:
安装:
sudo apt install ros-humble-moveit-setup-assistant启动(在工作区目录下启动,否则下一步选择urdf文件会闪退):
ros2 launch moveit_setup_assistant setup_assistant.launch.py启动后如下:
2.2 加载URDF文件
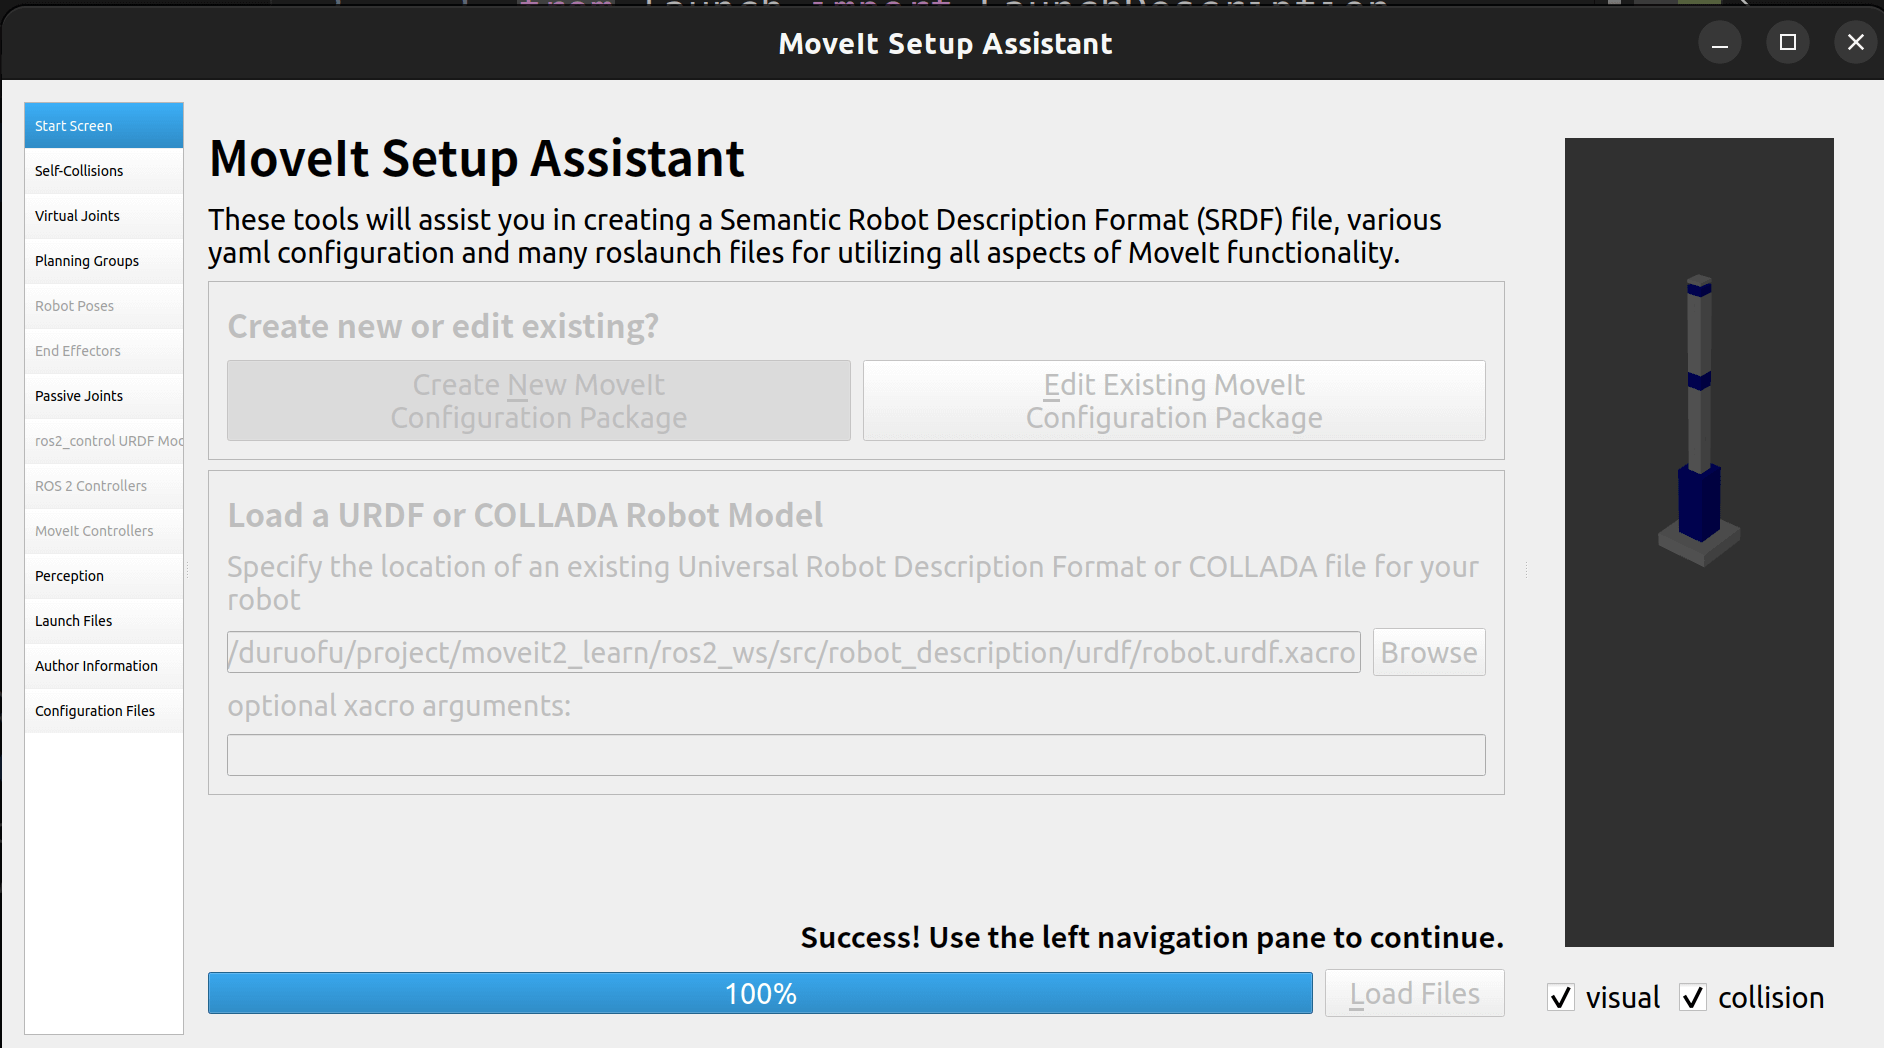
选择创建新的配置包,然后选择我们的urdf文件,这里可能会闪退,可以看文后参考文献第一条。
选择URDF文件后,点击加载,如下:
2.3 自碰撞检测
点击Generate Collision Matrix自动生成即可: 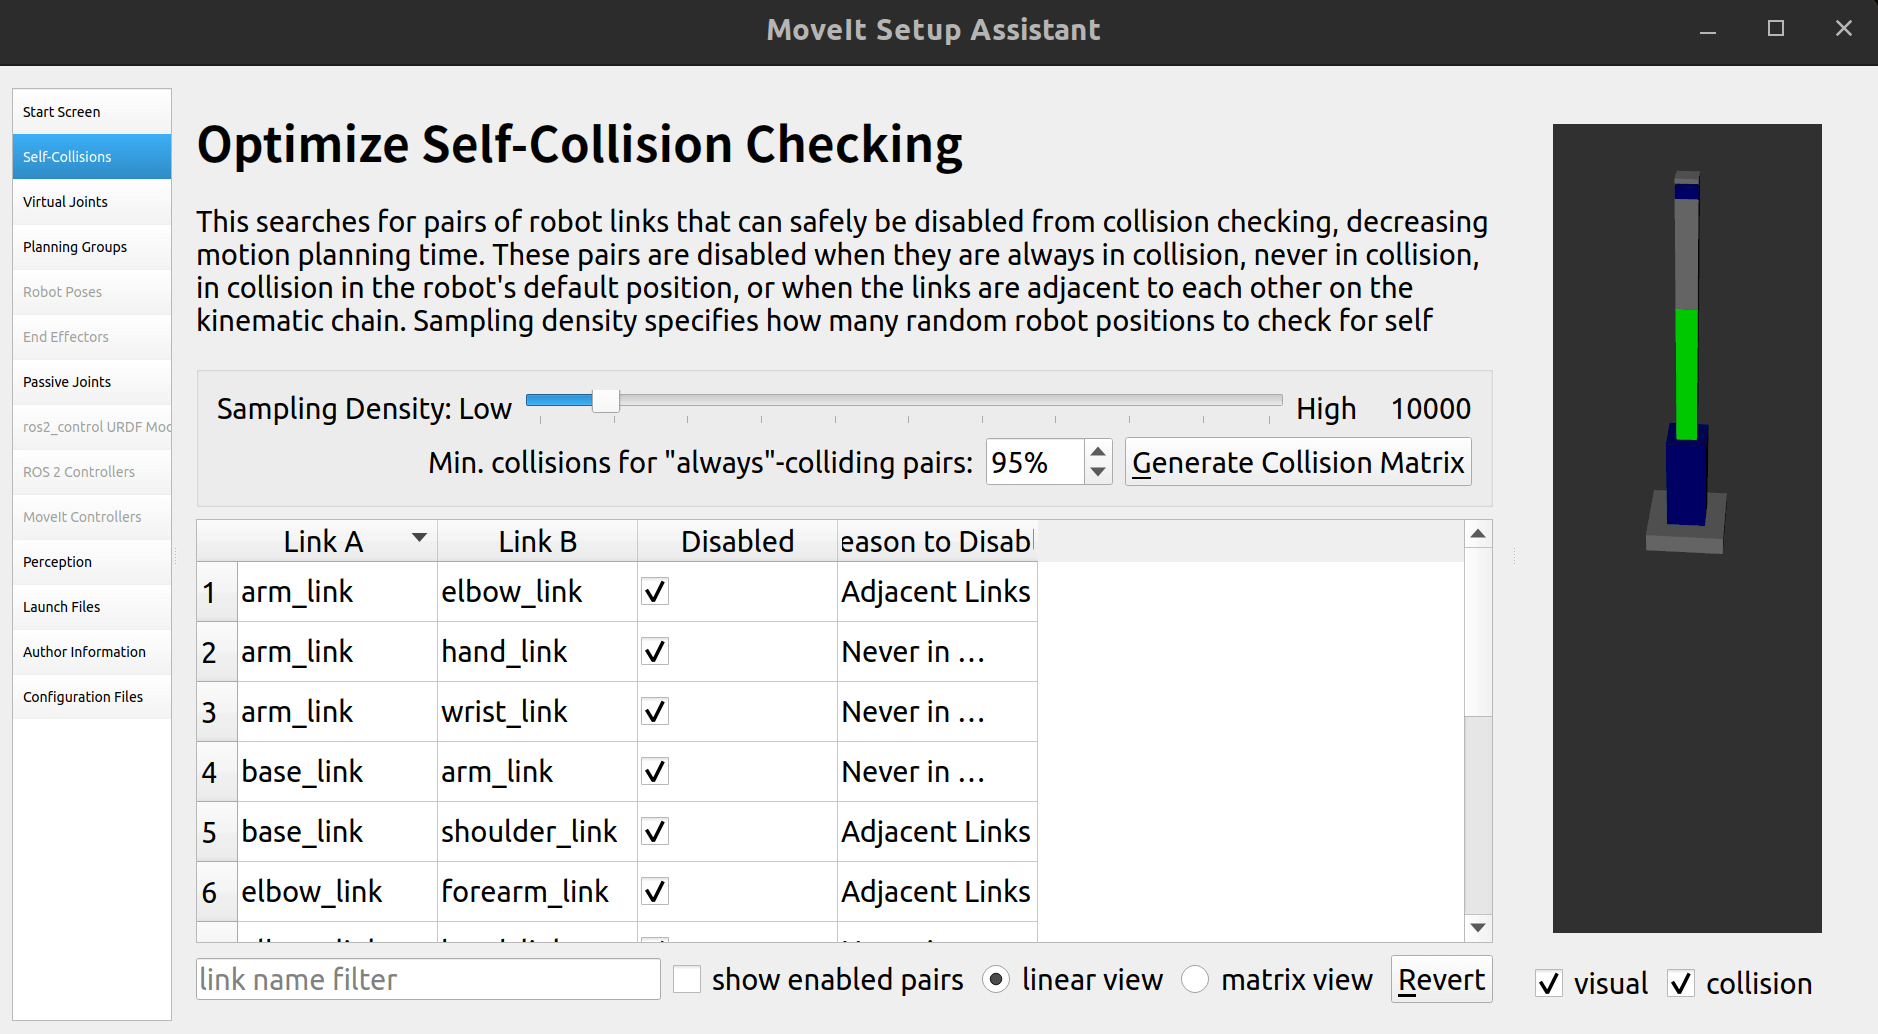
2.4 虚拟关节
这里建立一个虚拟关节,用于将机器让的base_link和世界坐标系联系起来。 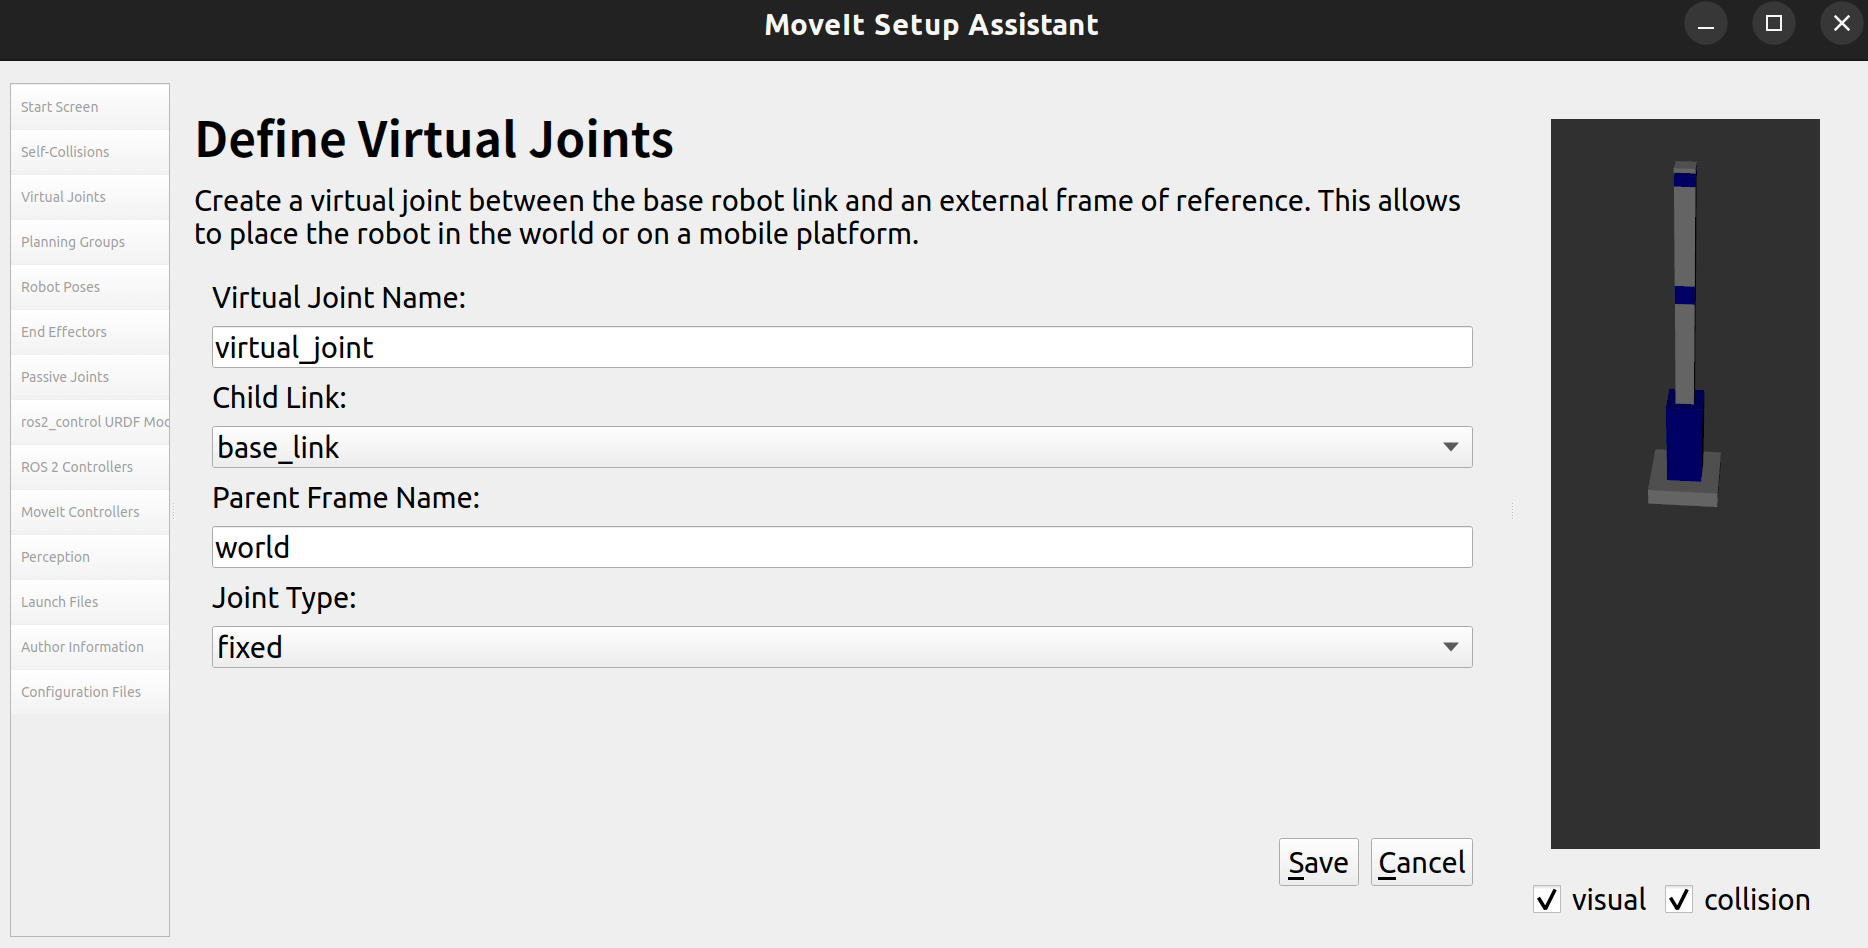
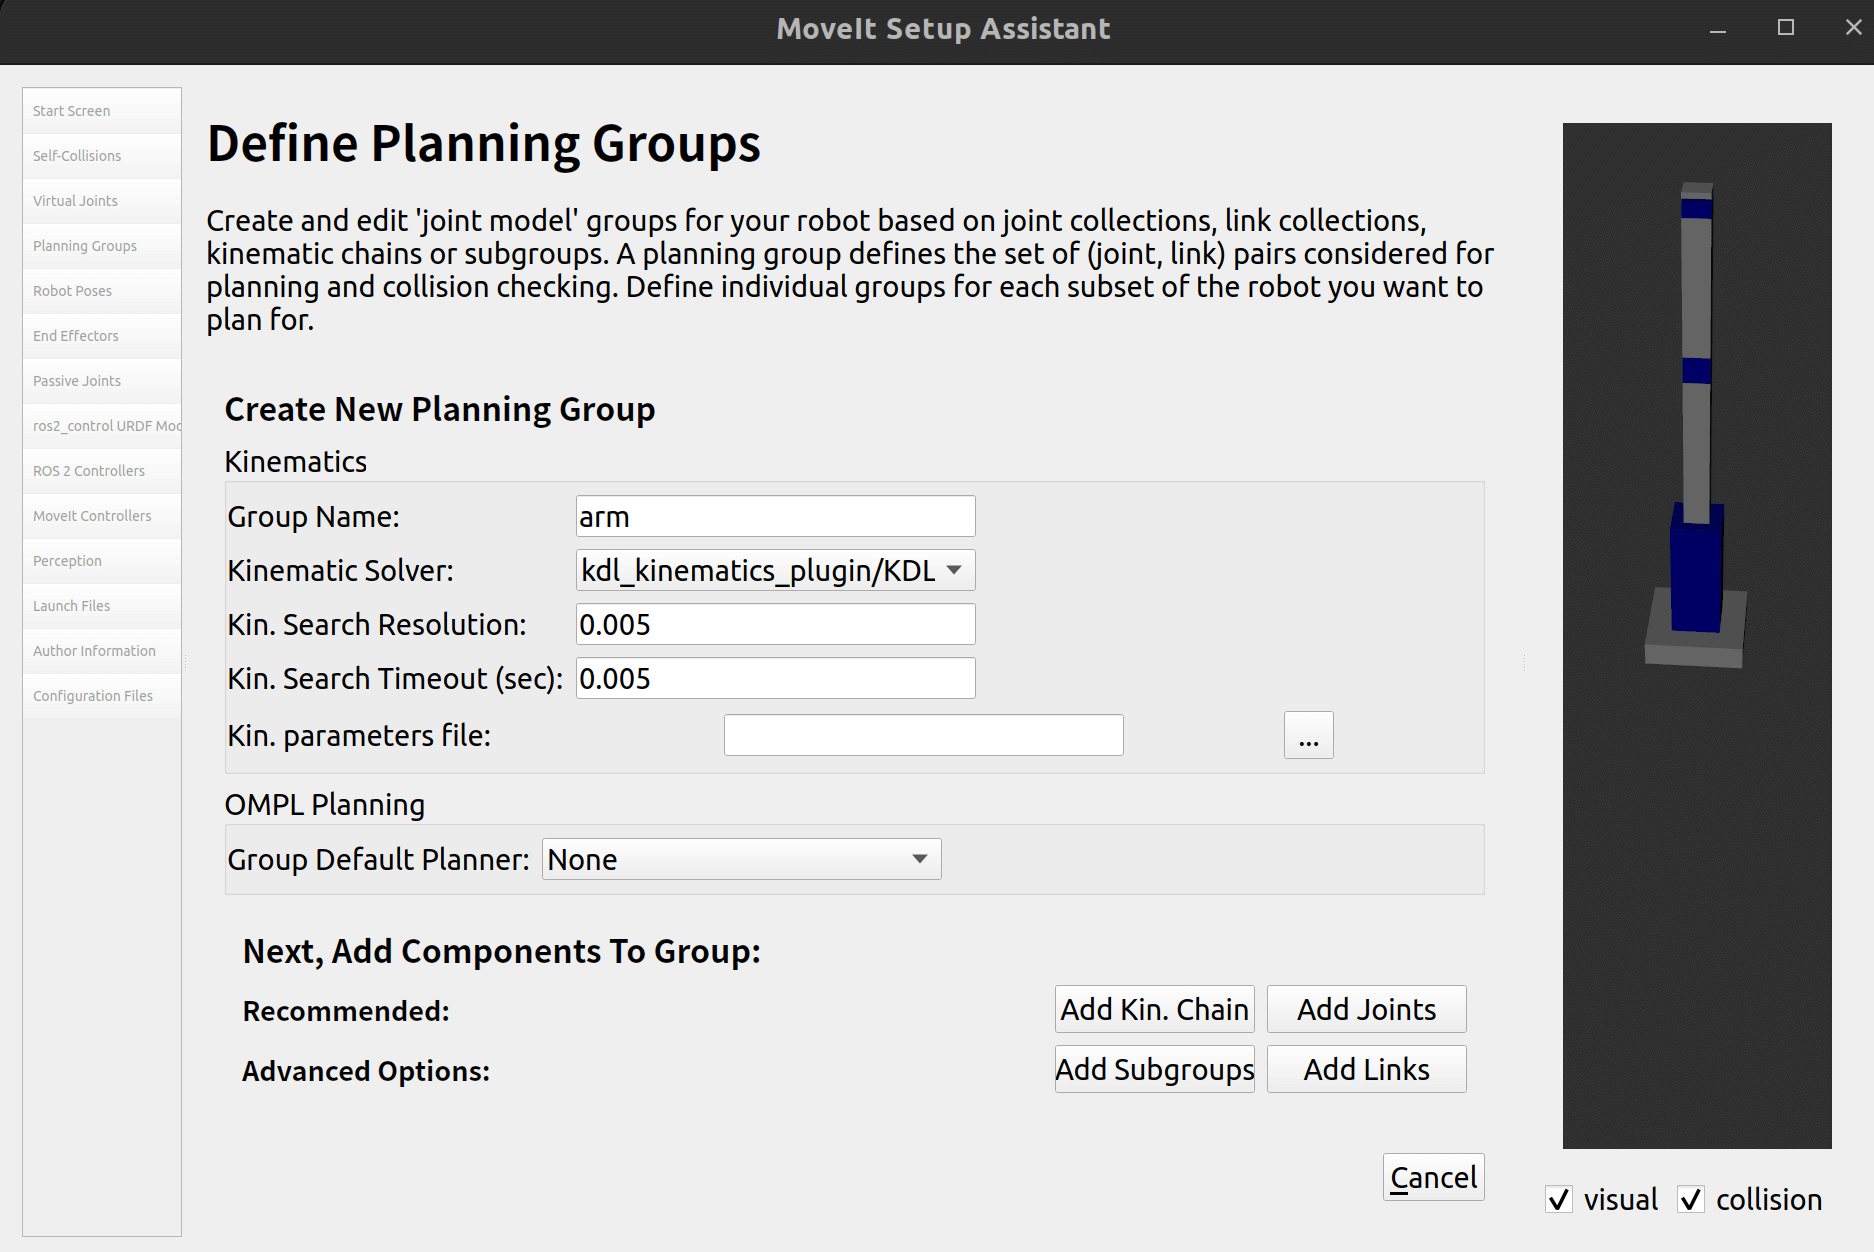
2.5 规划组
添加一个规划组:
点击添加关节,全部添加:

保存,最终如下: 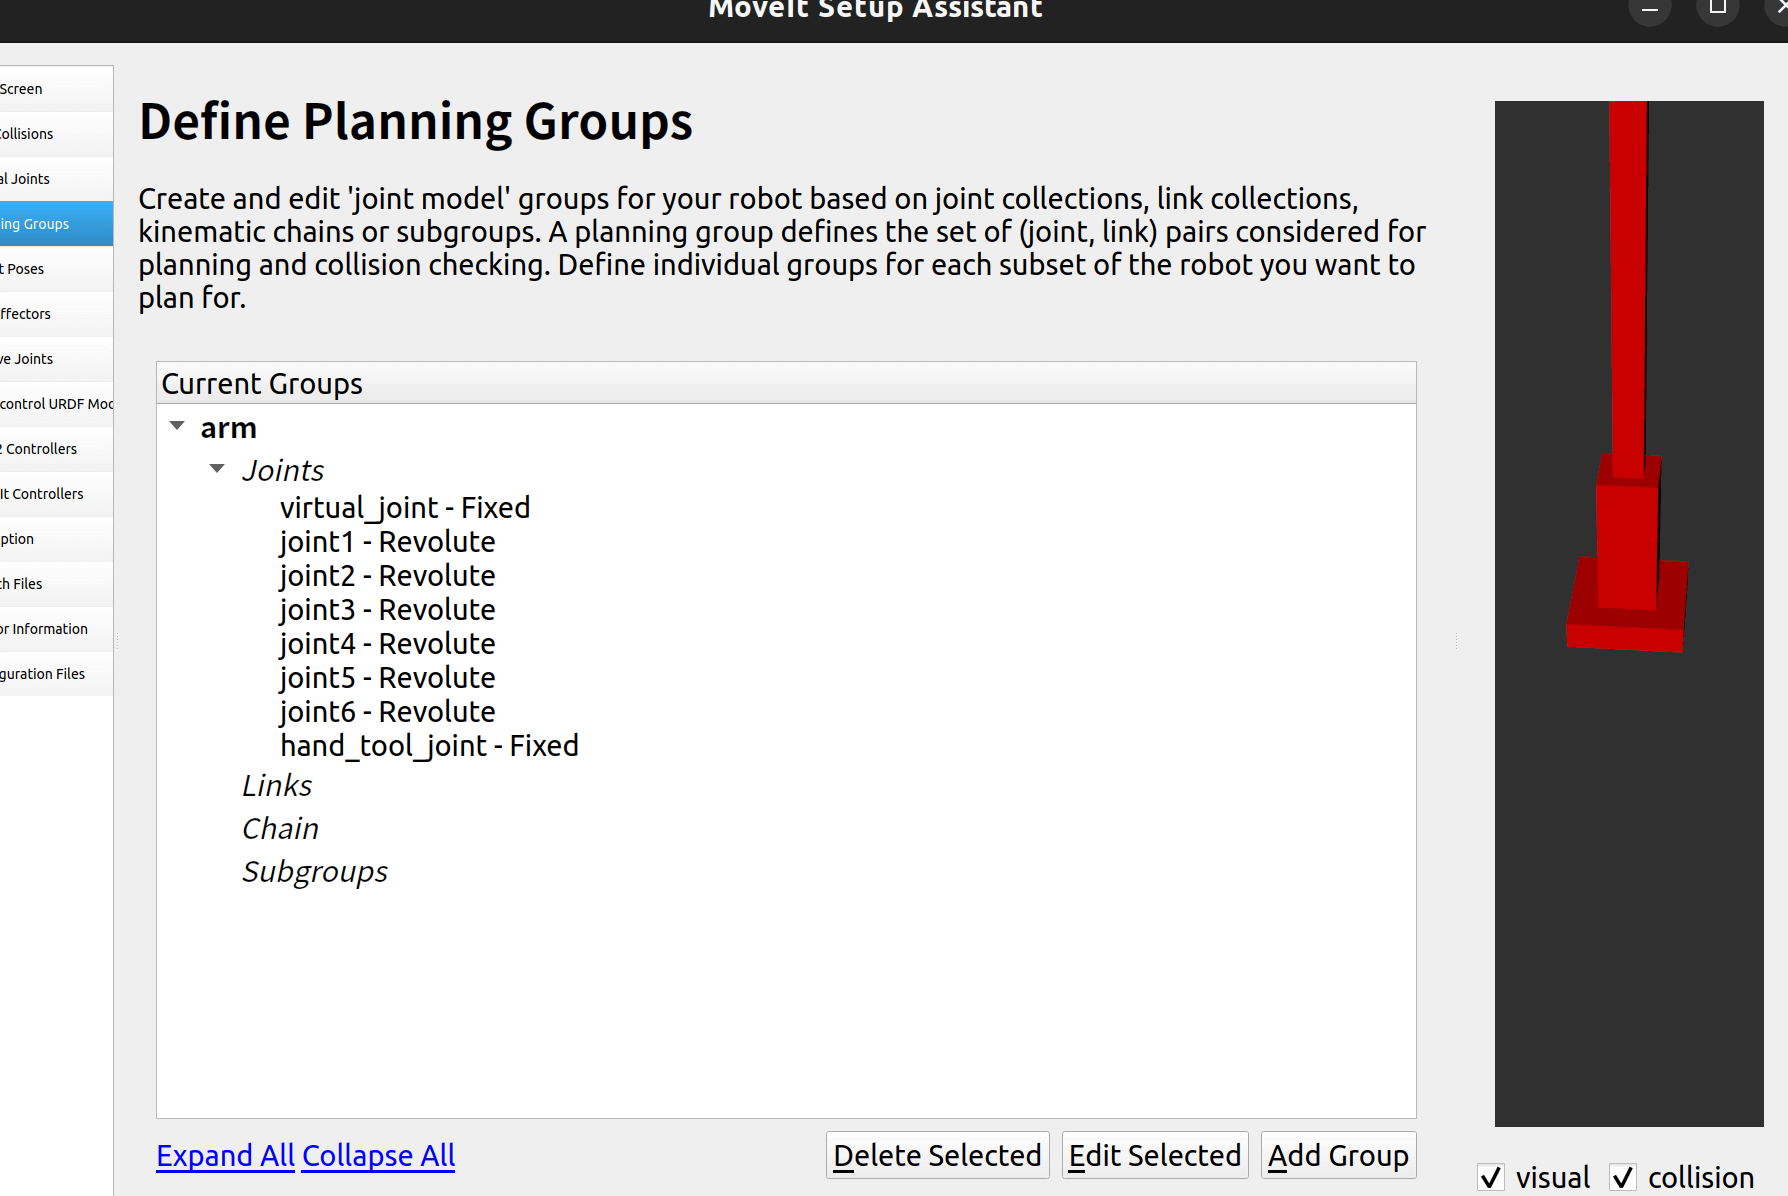
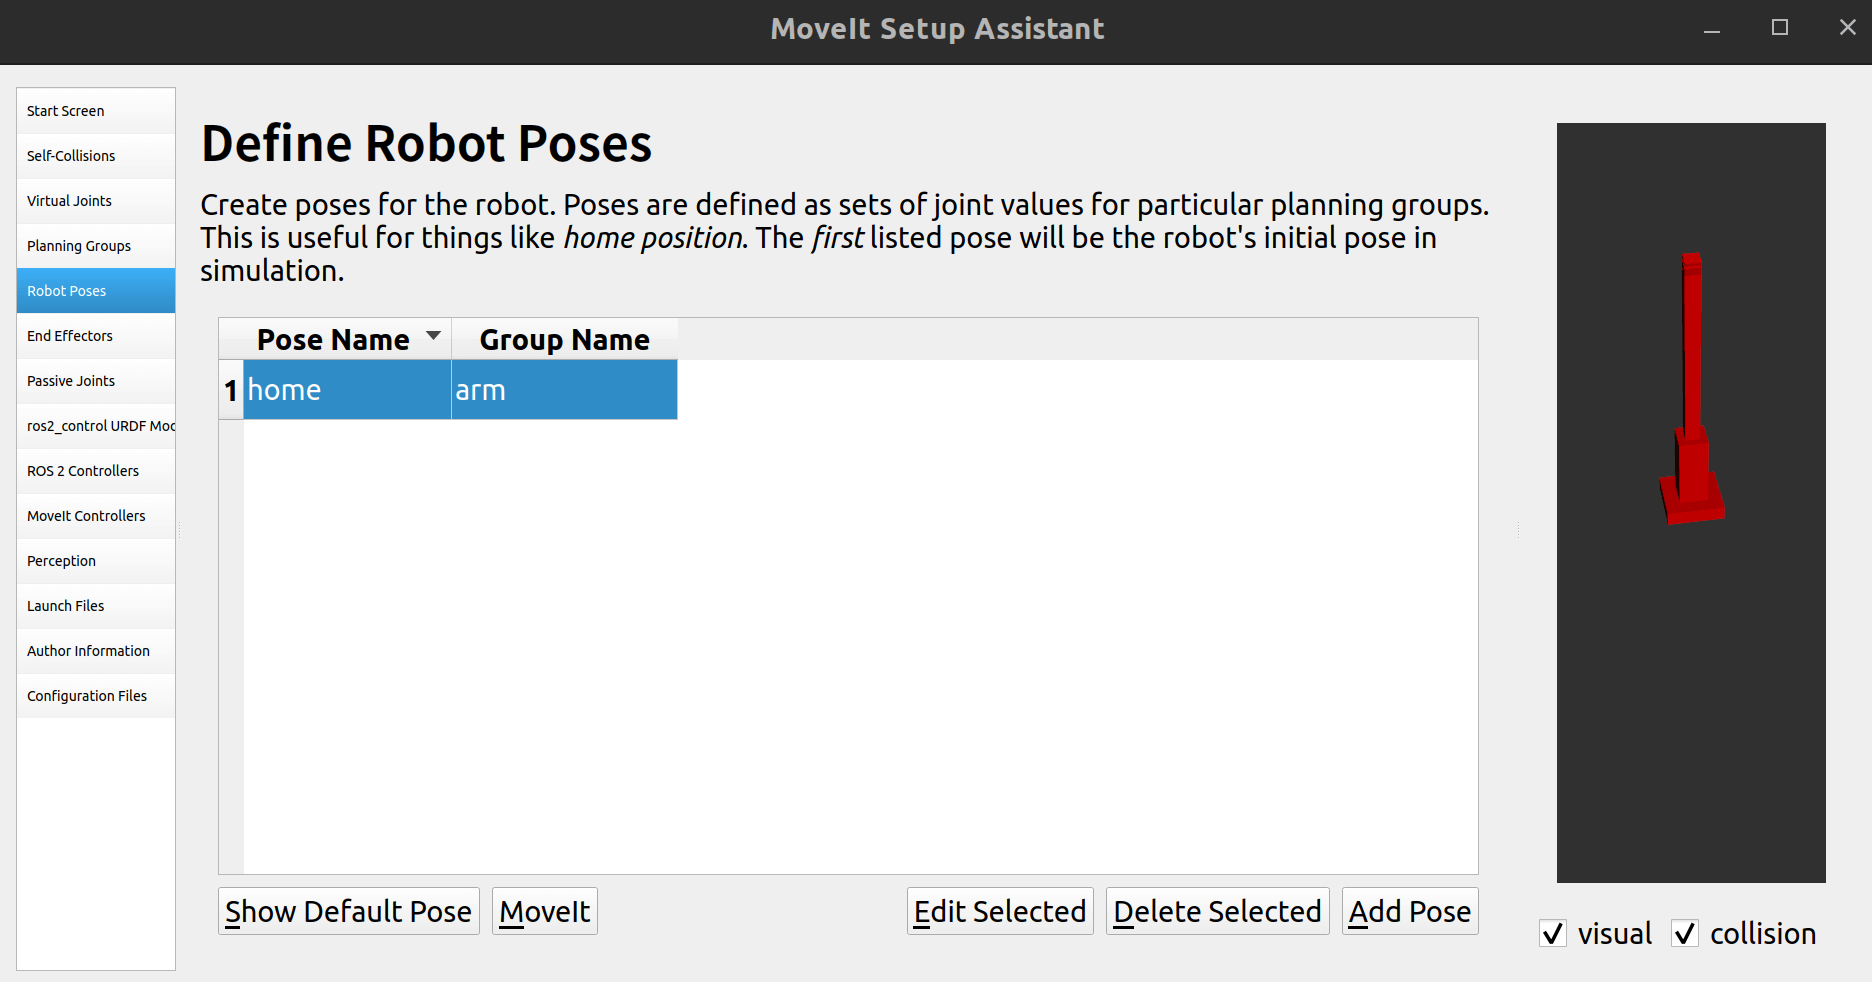
2.6 定义机器人姿态
我们可以预先定义几个姿态,便于测试 和机械臂在不同姿态间转换。
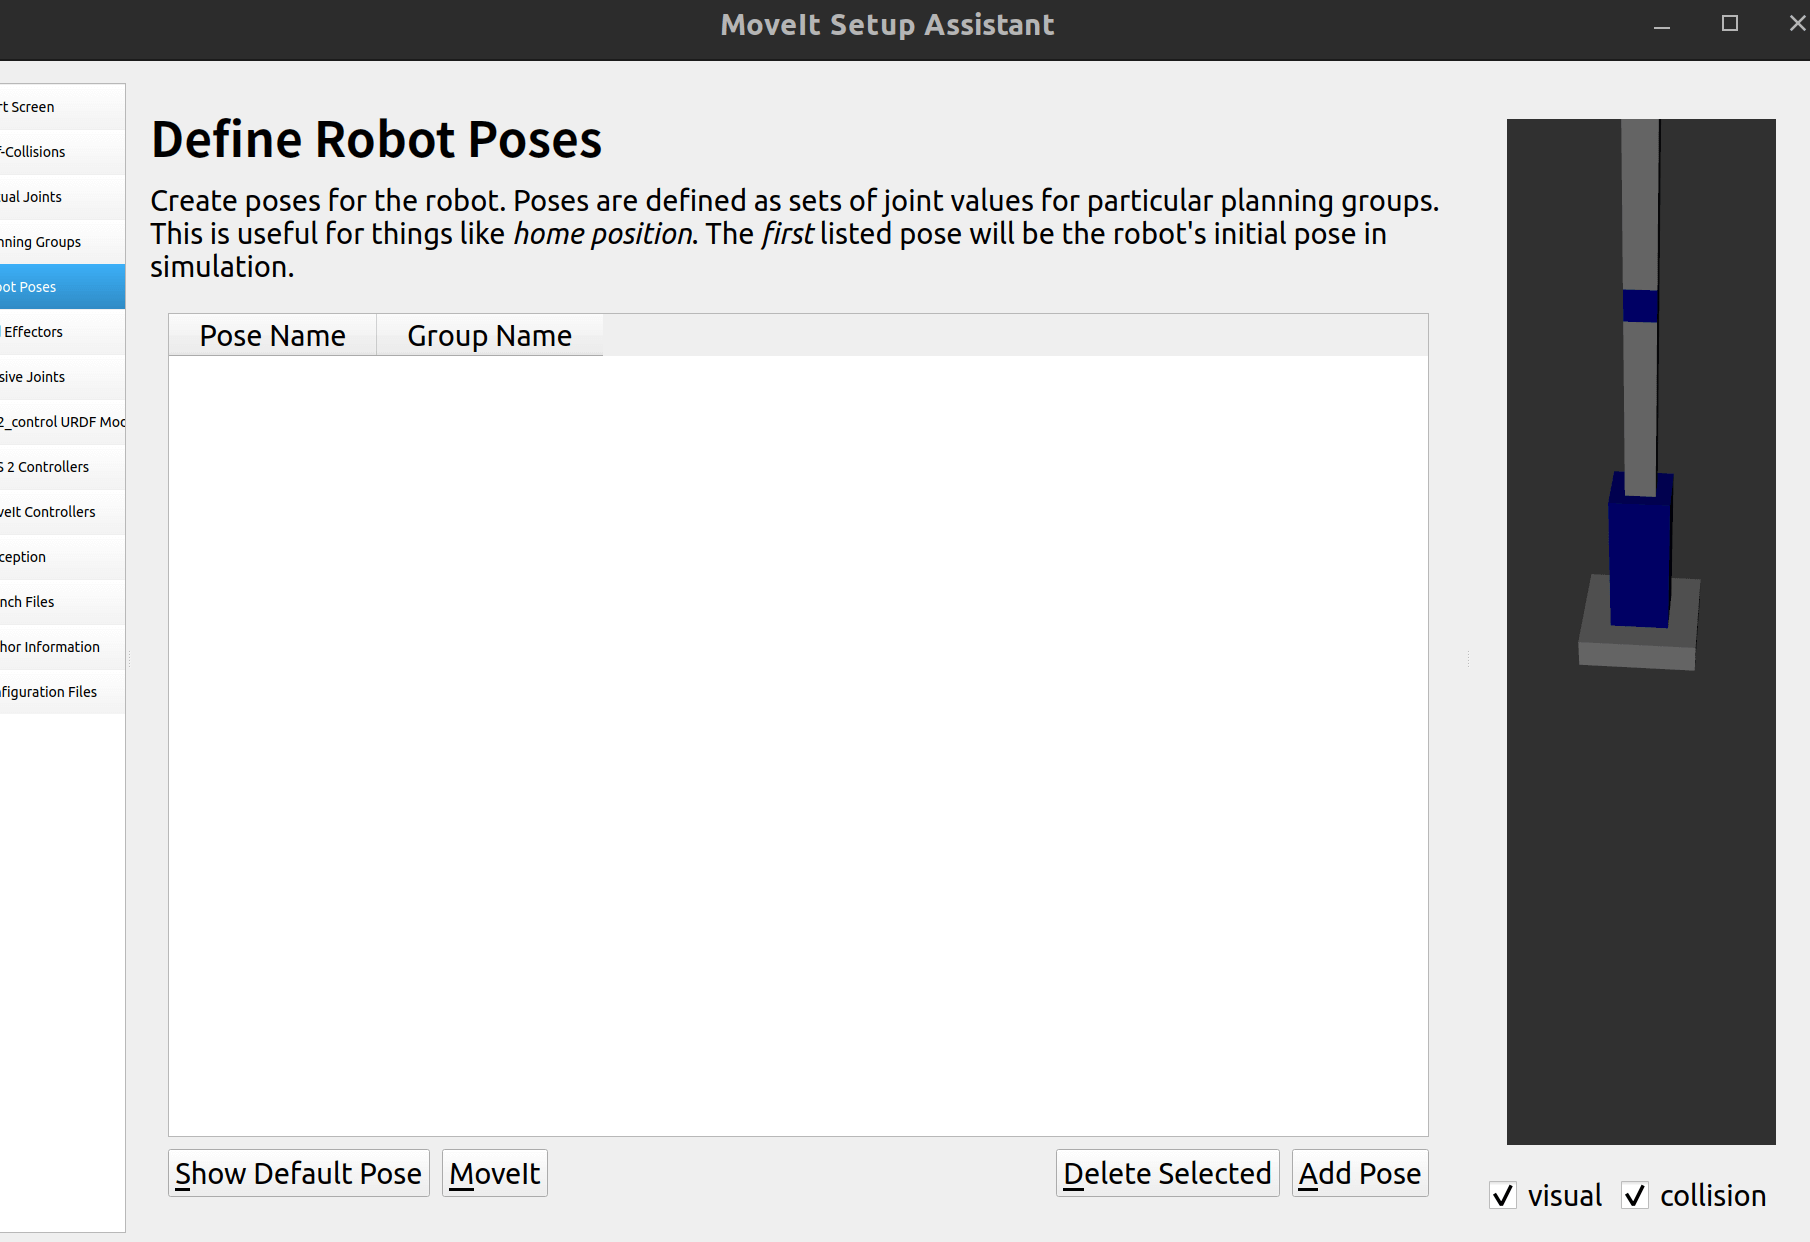
定义初始姿态:
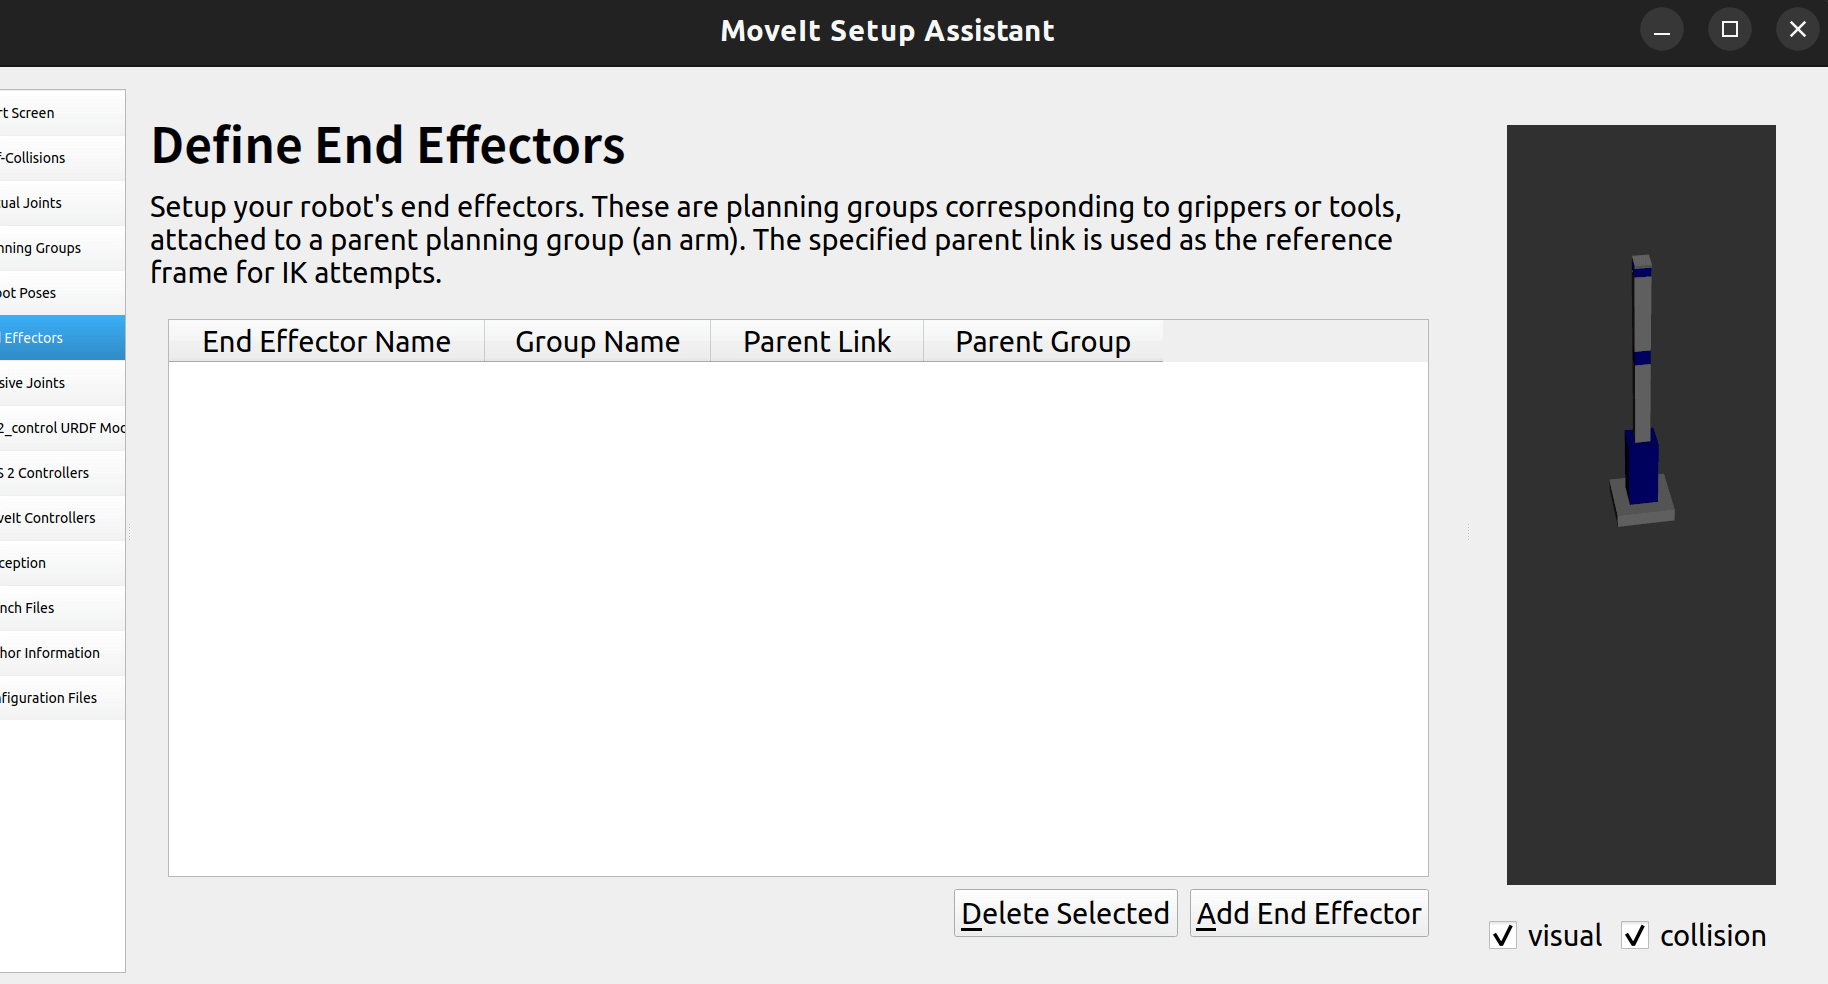
2.7 定义末端执行器
这里先不添加
2.8 定义被动关节
这里也是无 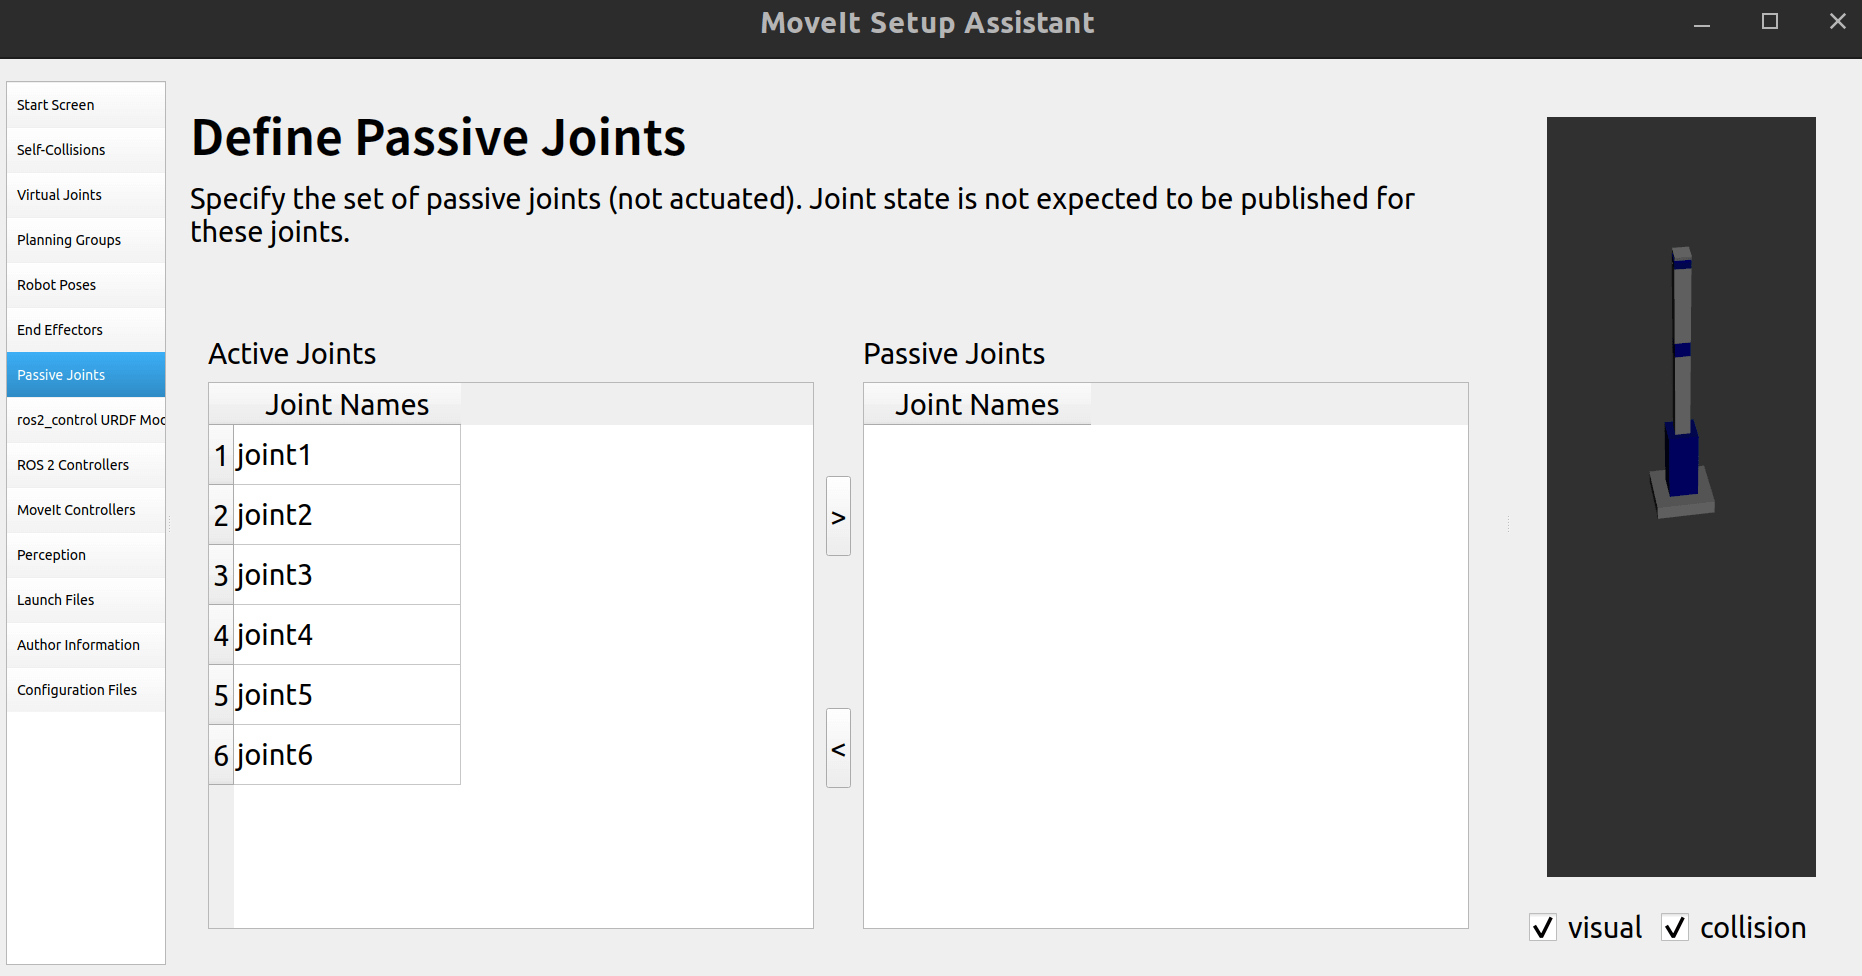
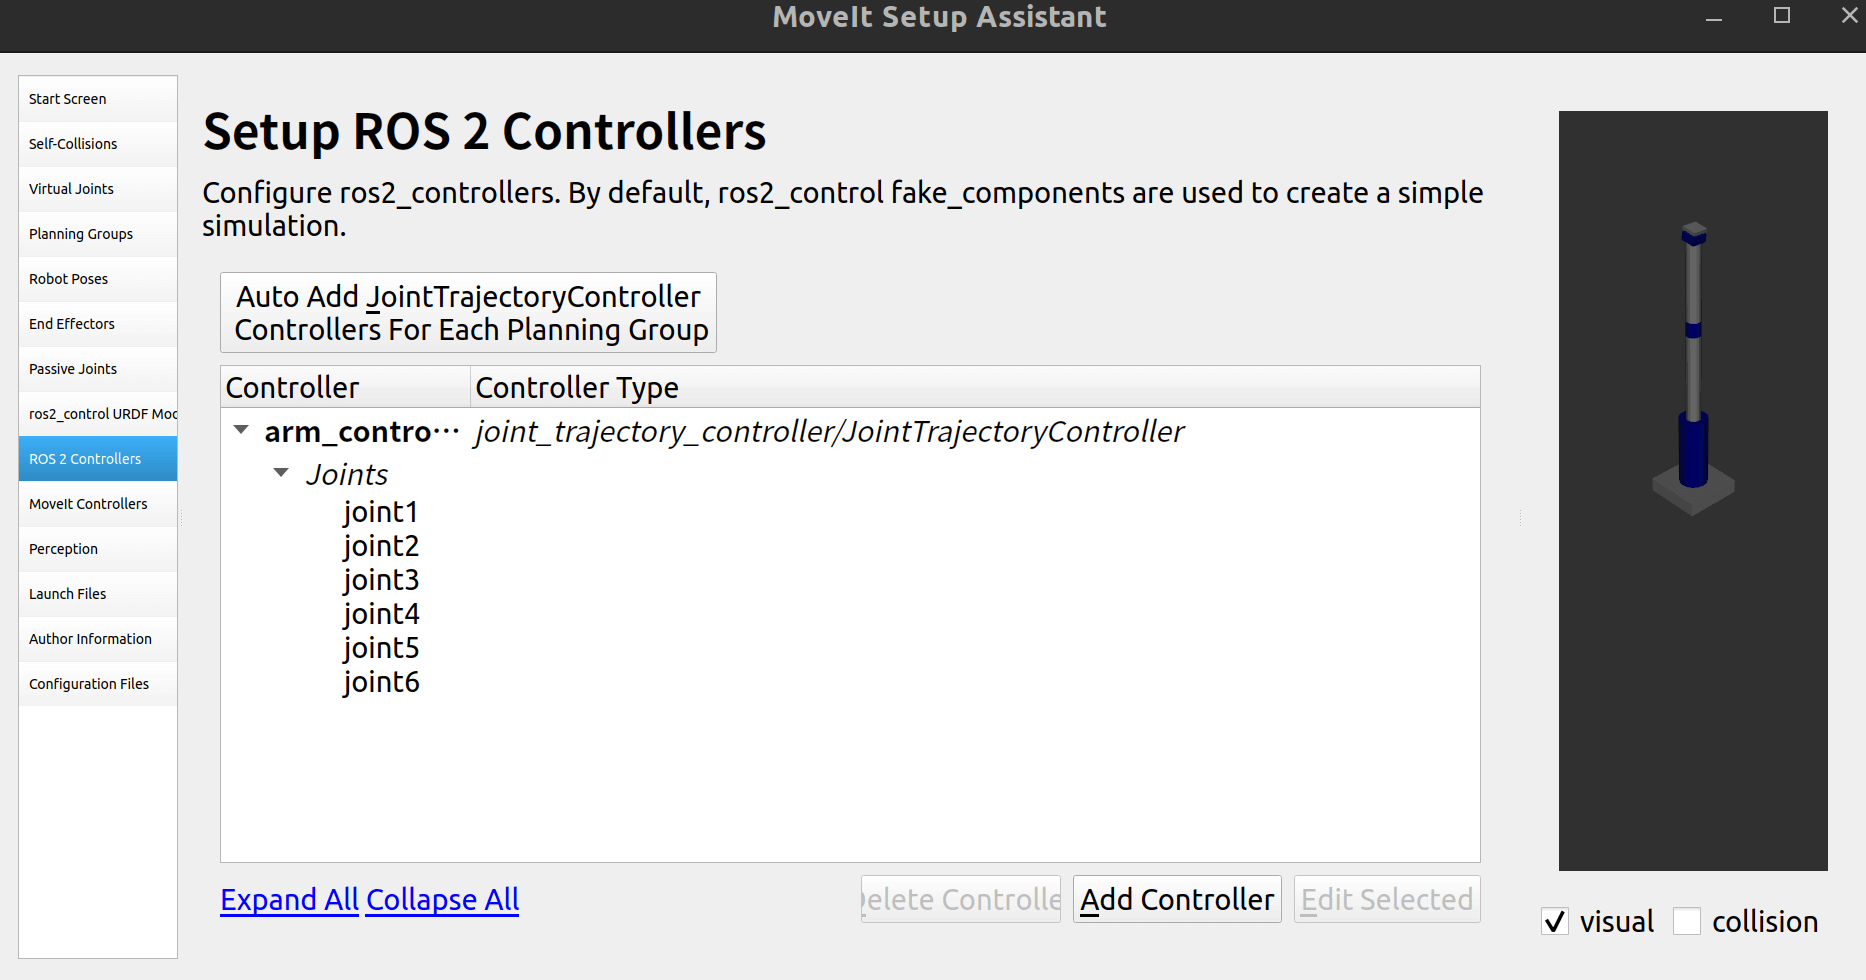
2.9 定义ros2_control控制器
这样使用位置控制和位置反馈 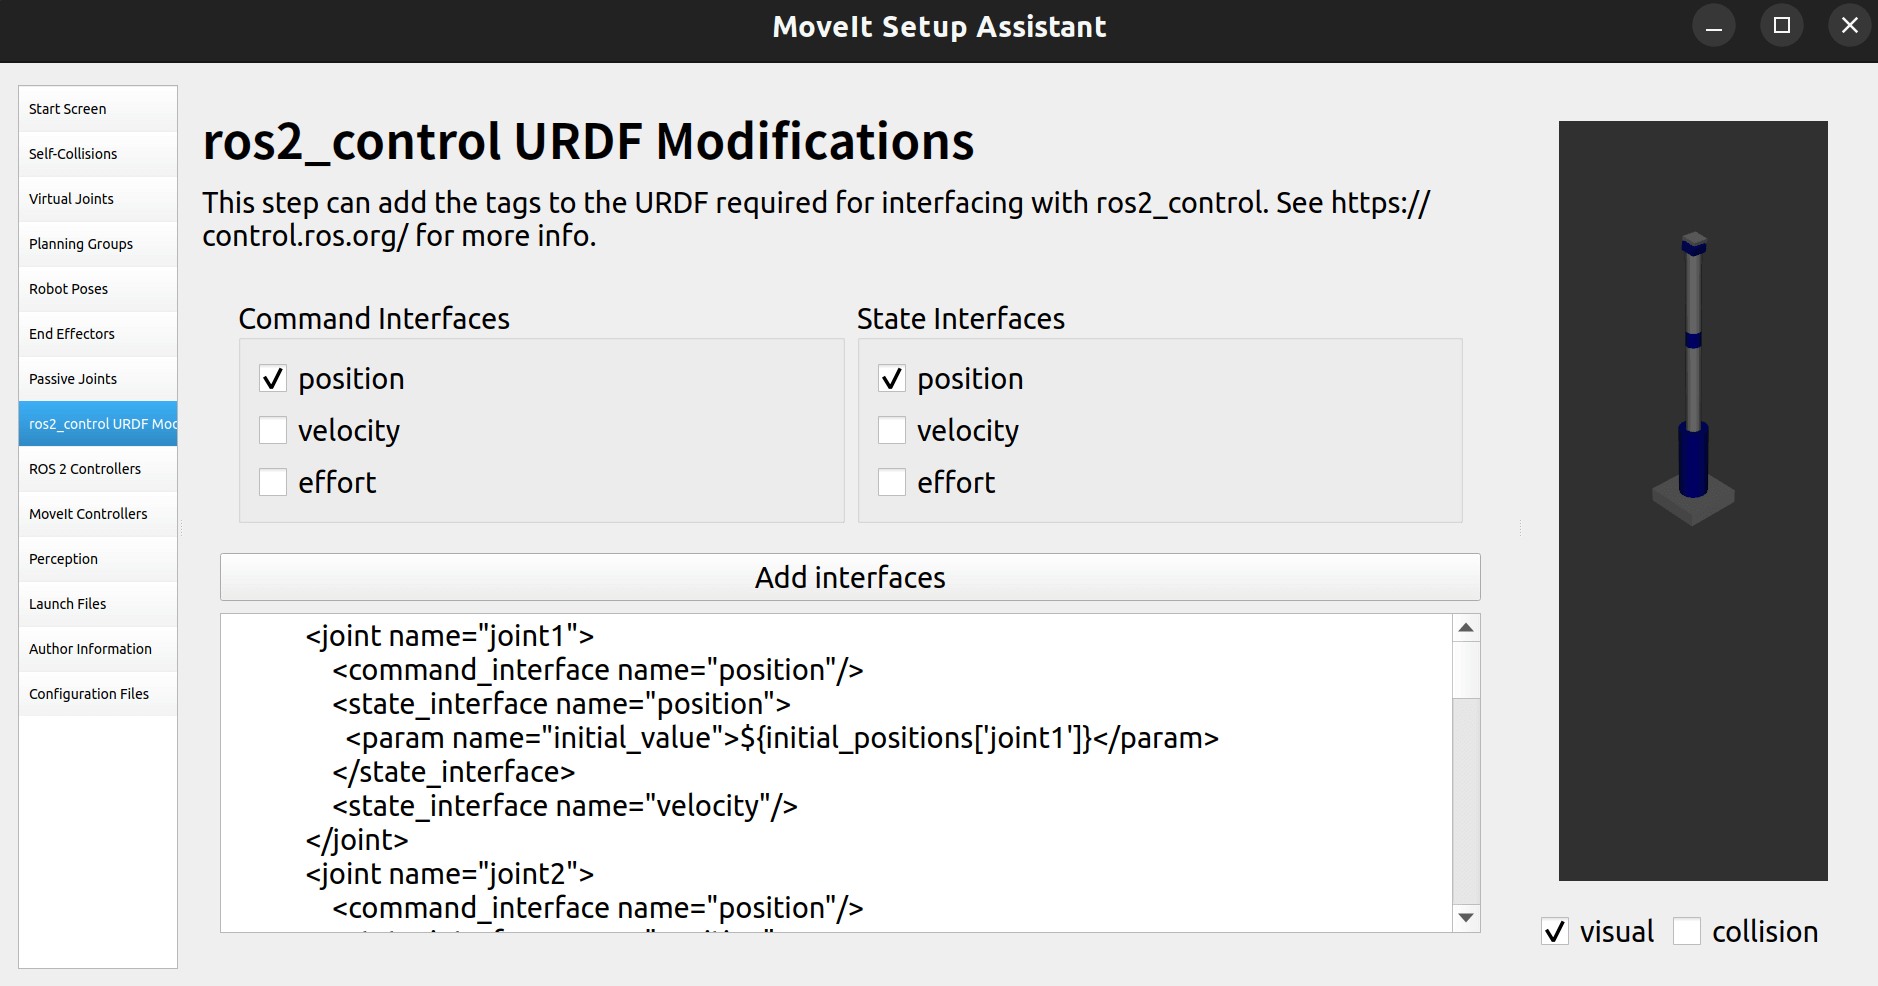
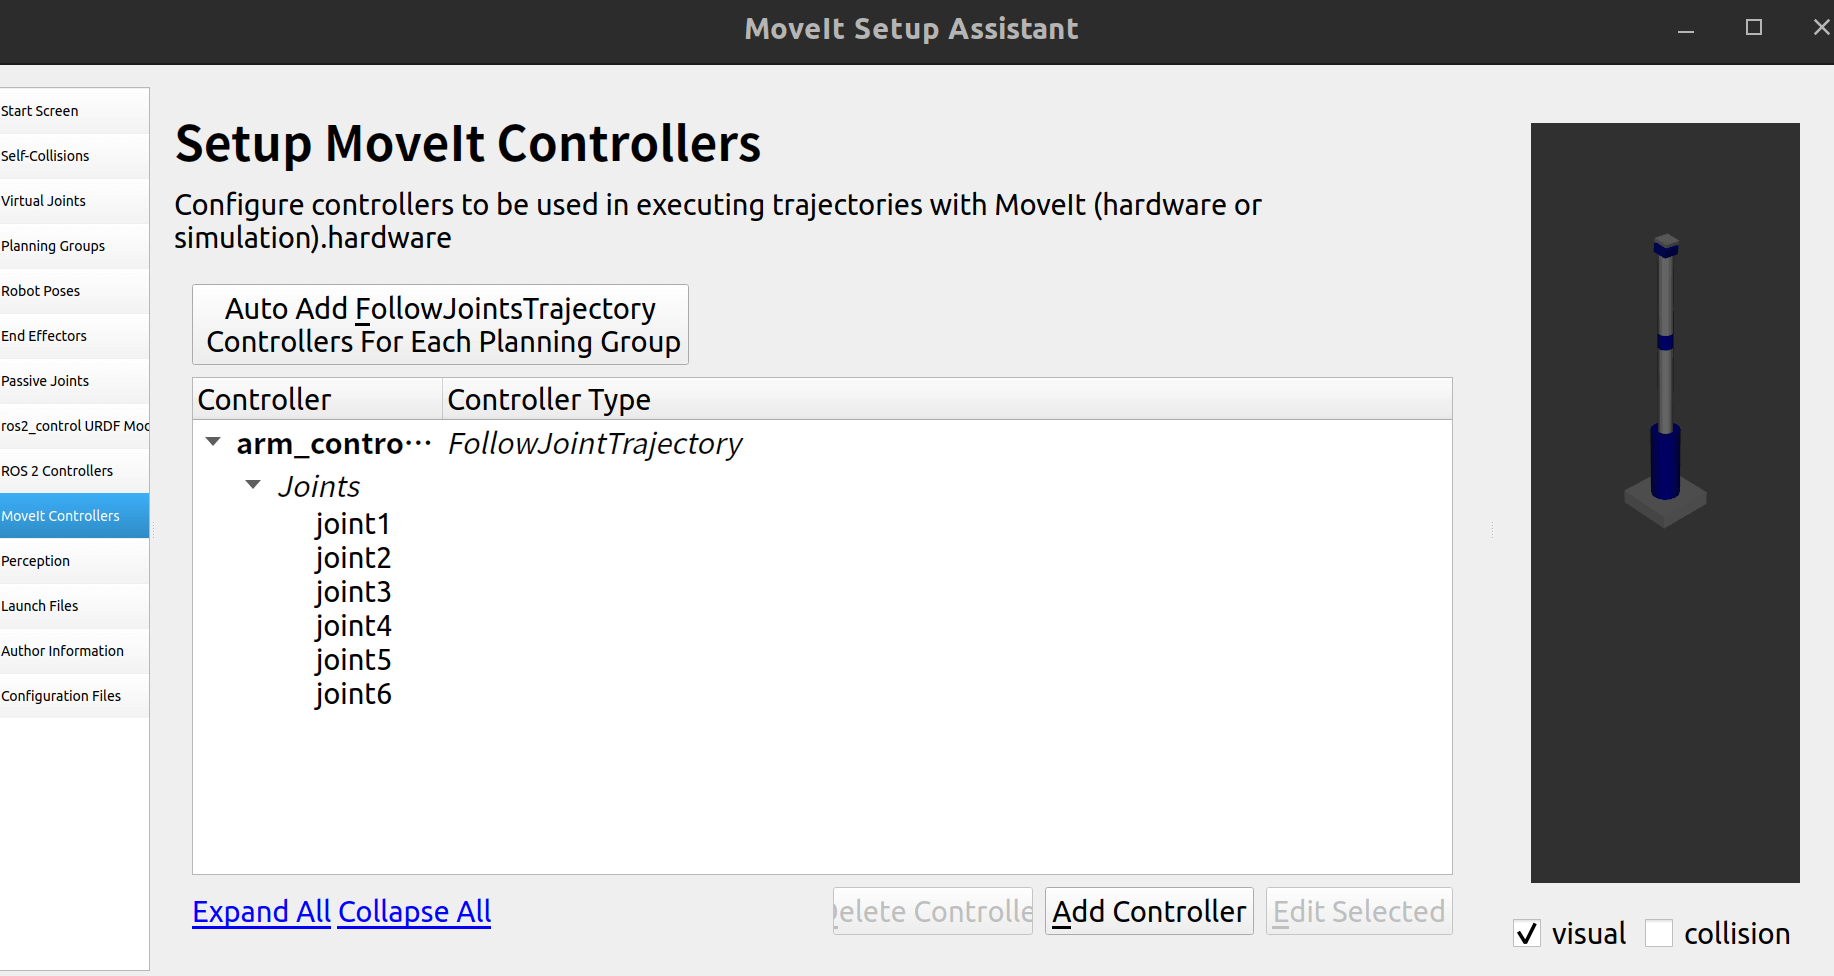
2.10 控制器配置
自动创建:
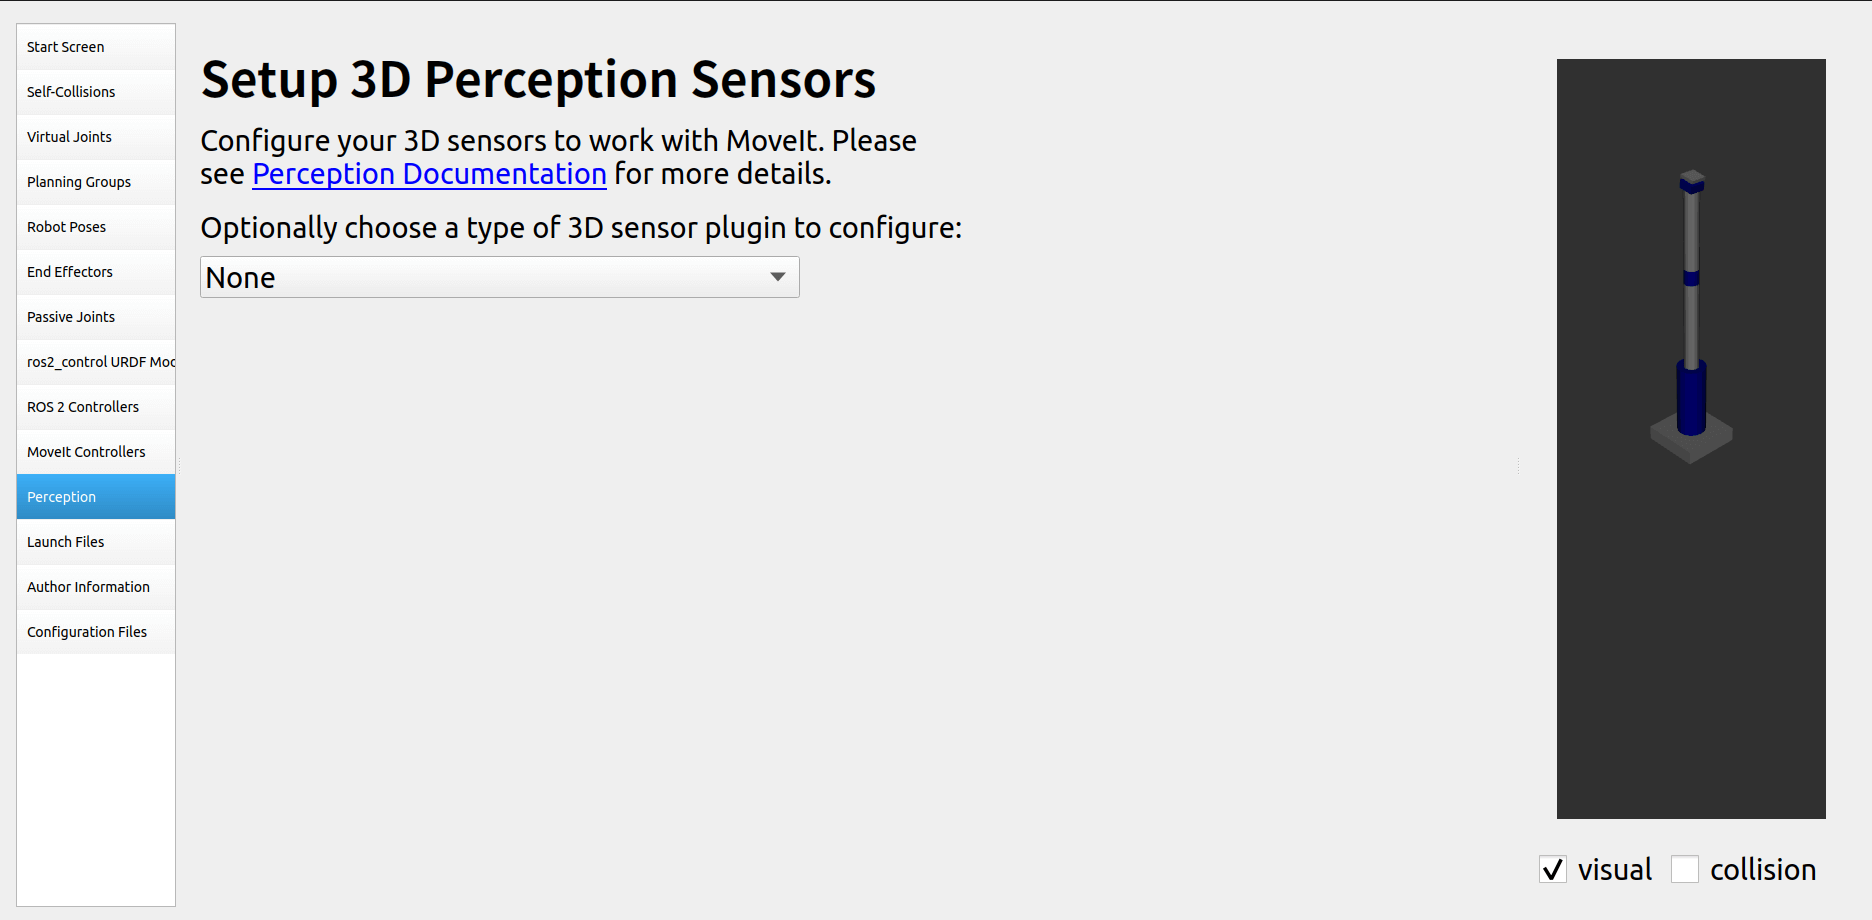
2.11 传感器配置
无
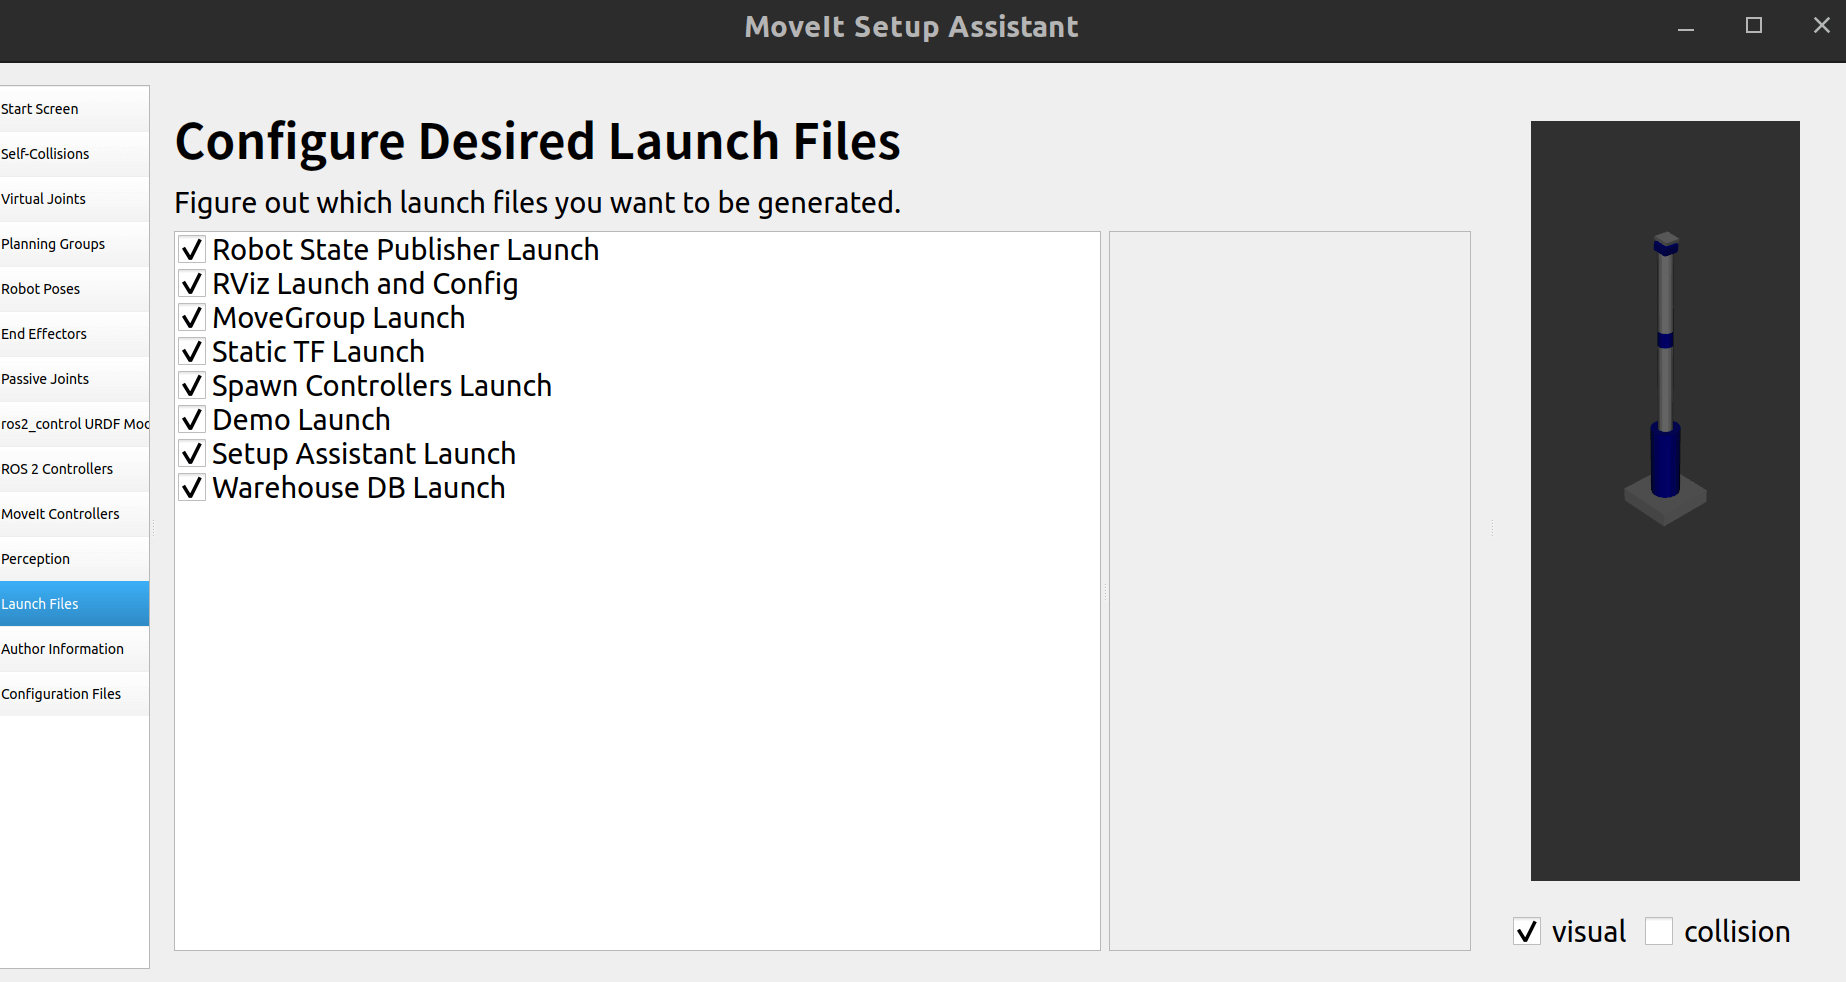
2.12 启动文件配置
默认
2.13 作者信息
不要留空,不然会报错 
2.14 配置文件
填写包存放的目录,这里新建一个包my_robot_moveit_config
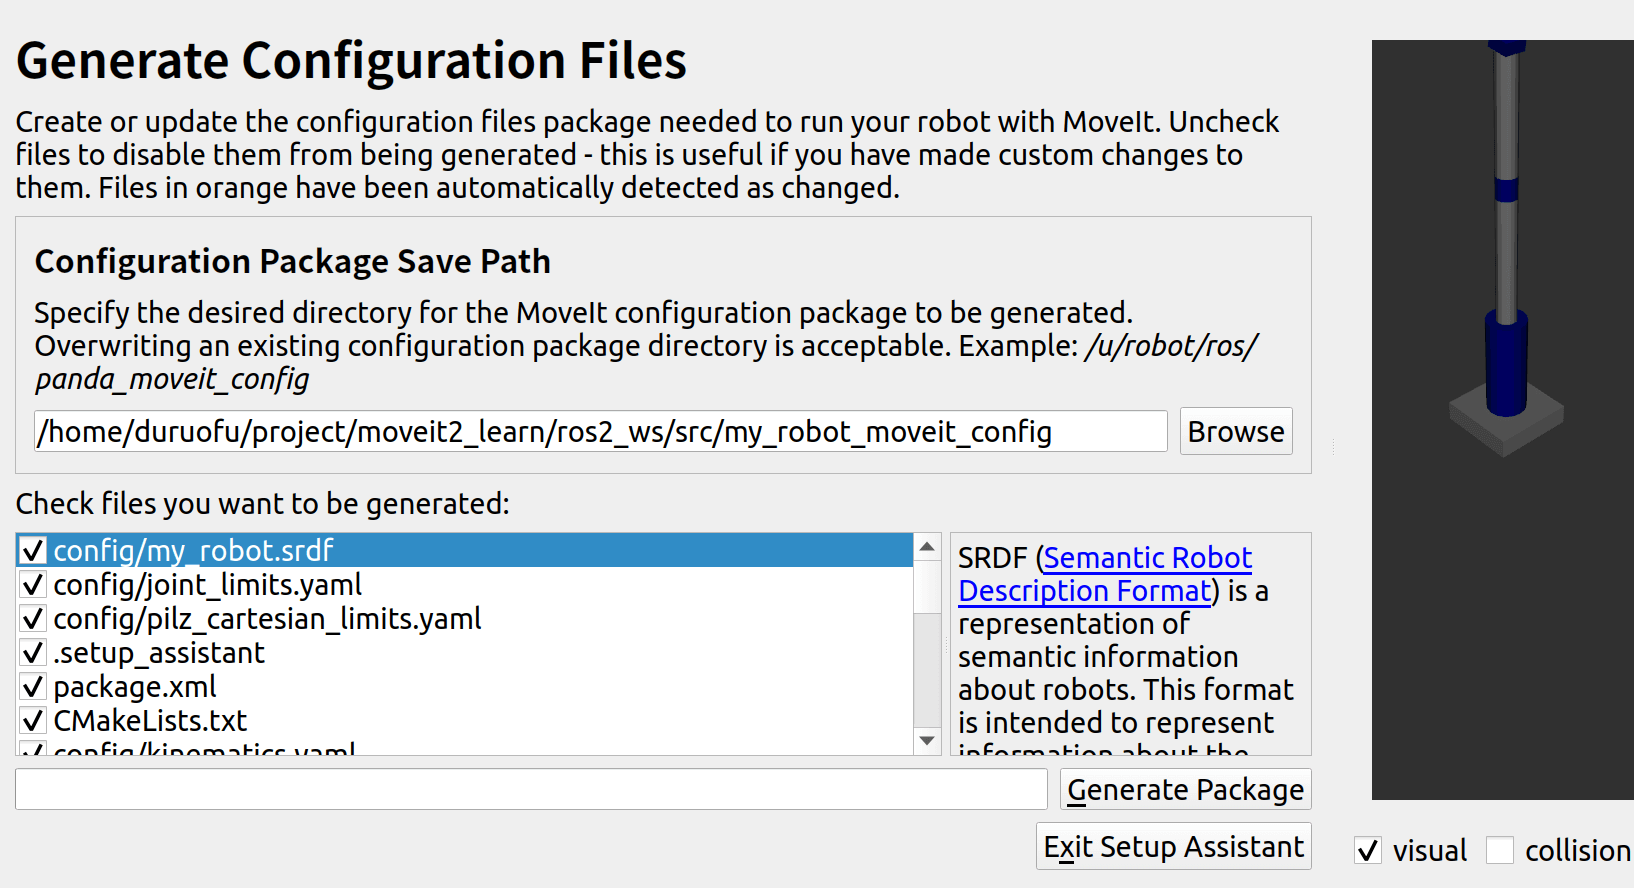
点击创建包即可:
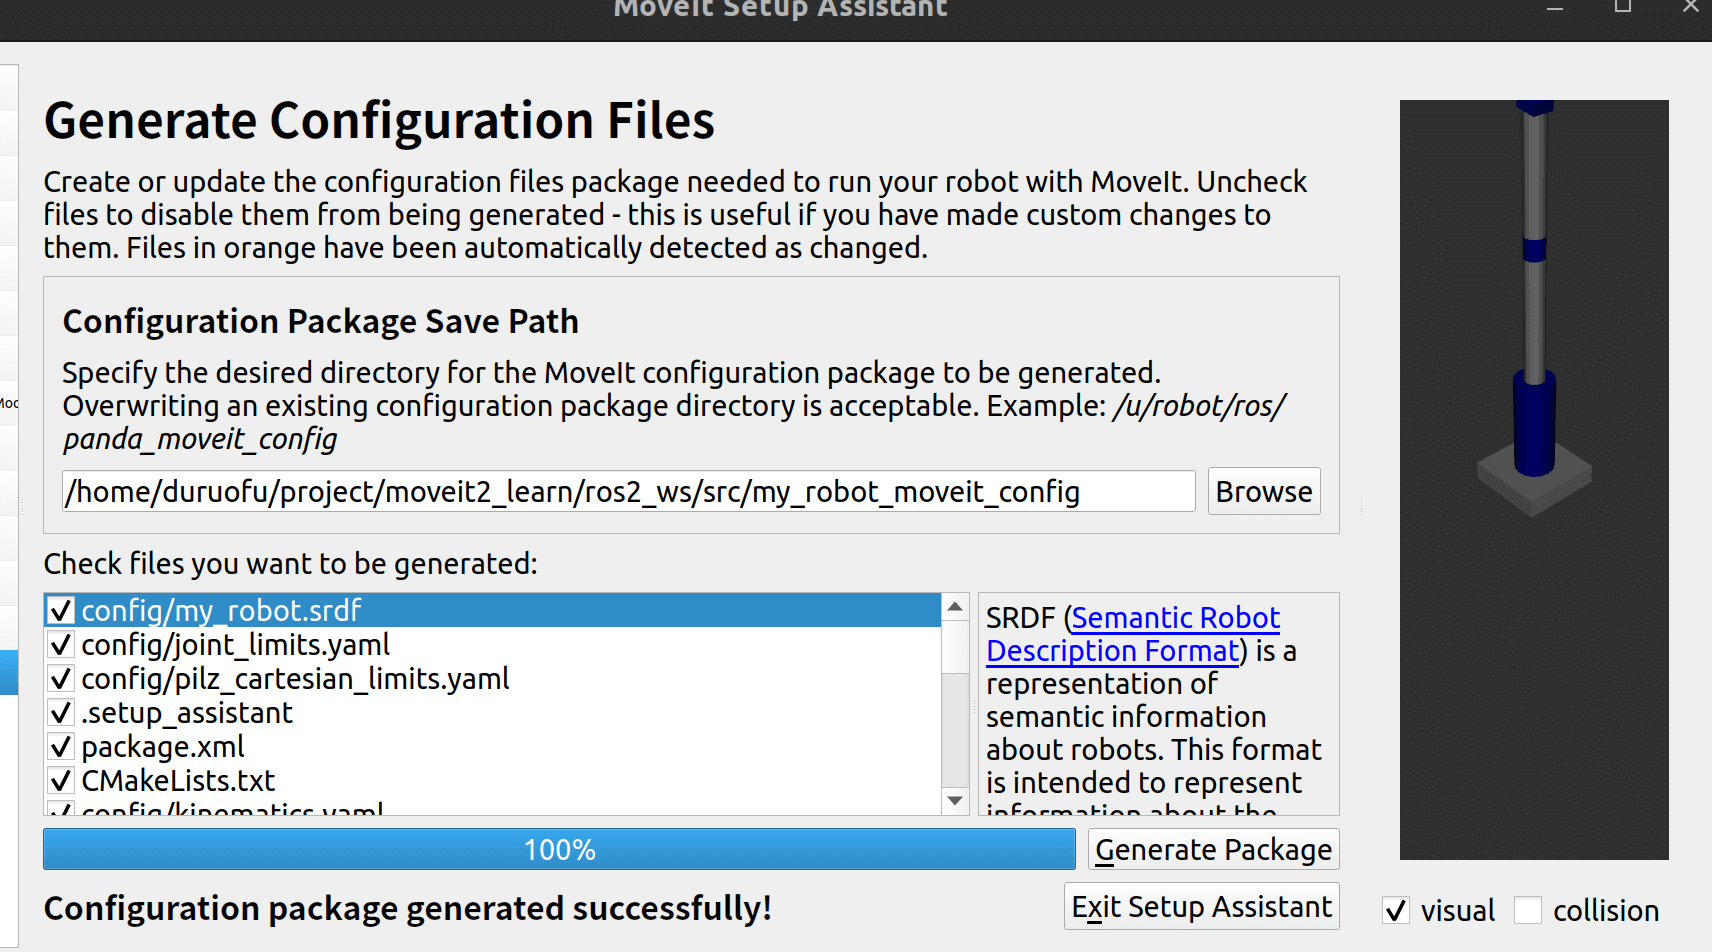
创建成功,工作区里也生成了新的包:
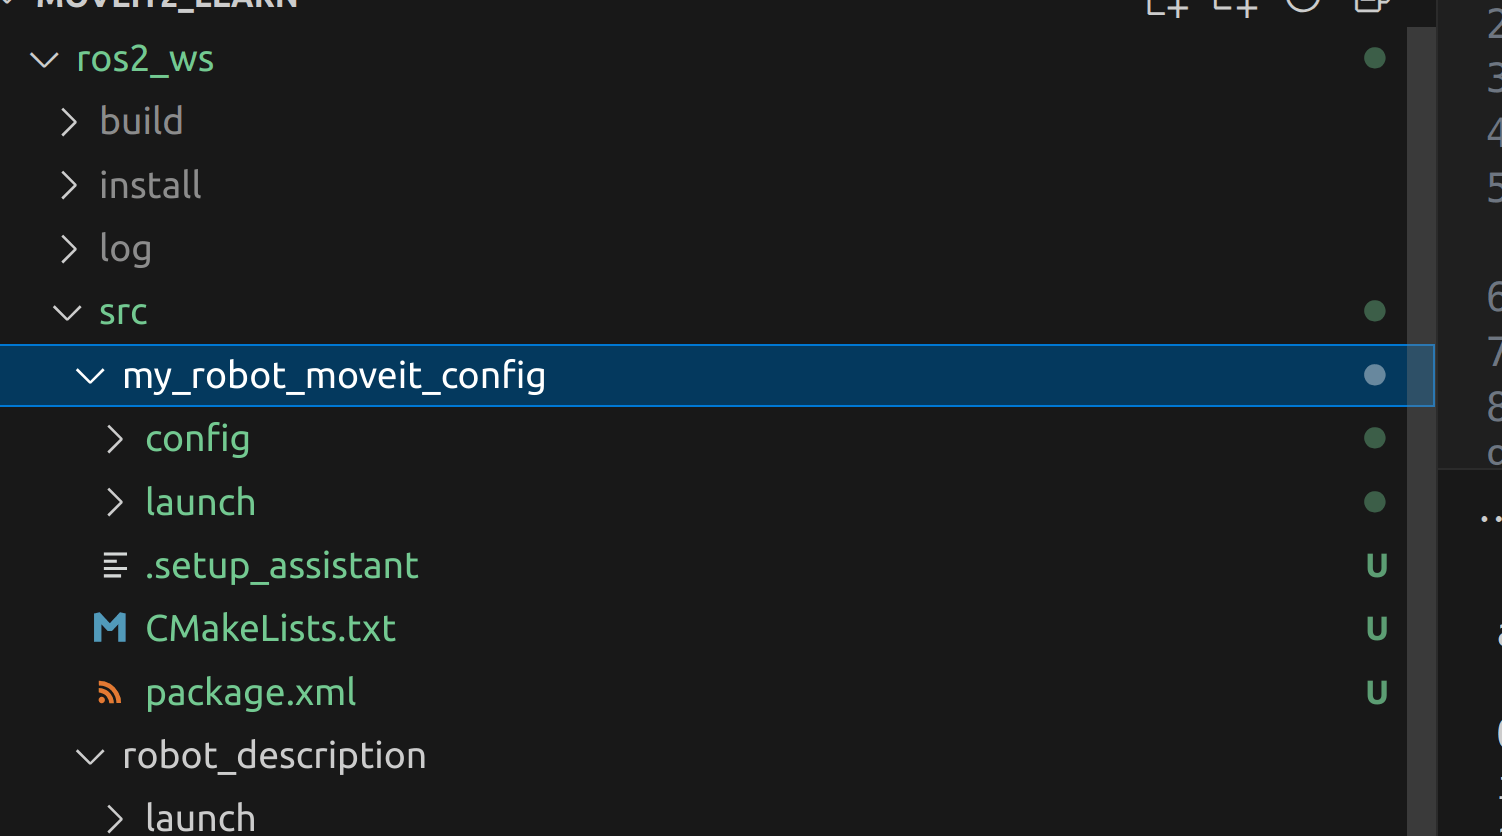
关于这些文件各自的作用,可以参考:ros2控制六轴机械臂教程 ,这里不在赘述
代码: https://github.com/DuRuofu/moveit2_learn/commit/66c46529412852670001891ff9782085d9d3bc1d
三、测试Moveit2配置包
cd ros2_ws
colcon build
source install/setup.bash
ros2 launch my_robot_moveit_config demo.launch.py这里可能会报错,找不到controller_manager 和其他包,安装一下:
sudo apt install ros-humble-controller-manager
sudo apt install ros-humble-joint-trajectory-controller
sudo apt install ros-humble-joint-state-broadcaster
sudo apt-get install ros-${ROS_DISTRO}-moveit-planners-ompl
sudo apt-get install ros-${ROS_DISTRO}-moveit-planners-chomp
sudo apt-get install ros-humble-moveit-ros-control-interface
sudo apt-get install ros-humble-ros2-control再次运行还会遇到其他报错,这里我们还要修改joint_limits.yaml文件:
# joint_limits.yaml allows the dynamics properties specified in the URDF to be overwritten or augmented as needed

# For beginners, we downscale velocity and acceleration limits.
# You can always specify higher scaling factors (<= 1.0) in your motion requests.  # Increase the values below to 1.0 to always move at maximum speed.
default_velocity_scaling_factor: 0.1
default_acceleration_scaling_factor: 0.1

# Specific joint properties can be changed with the keys [max_position, min_position, max_velocity, max_acceleration]
# Joint limits can be turned off with [has_velocity_limits, has_acceleration_limits]
joint_limits:
  joint1:
    has_velocity_limits: true
    max_velocity: 1.0
    has_acceleration_limits: true
    max_acceleration: 1.0
  joint2:
    has_velocity_limits: true
    max_velocity: 1.0
    has_acceleration_limits: true
    max_acceleration: 1.0
  joint3:
    has_velocity_limits: true
    max_velocity: 1.0
    has_acceleration_limits: true
    max_acceleration: 1.0
  joint4:
    has_velocity_limits: true
    max_velocity: 1.0
    has_acceleration_limits: true
    max_acceleration: 1.0
  joint5:
    has_velocity_limits: true
    max_velocity: 1.0
    has_acceleration_limits: true
    max_acceleration: 1.0
  joint6:
    has_velocity_limits: true
    max_velocity: 1.0
    has_acceleration_limits: true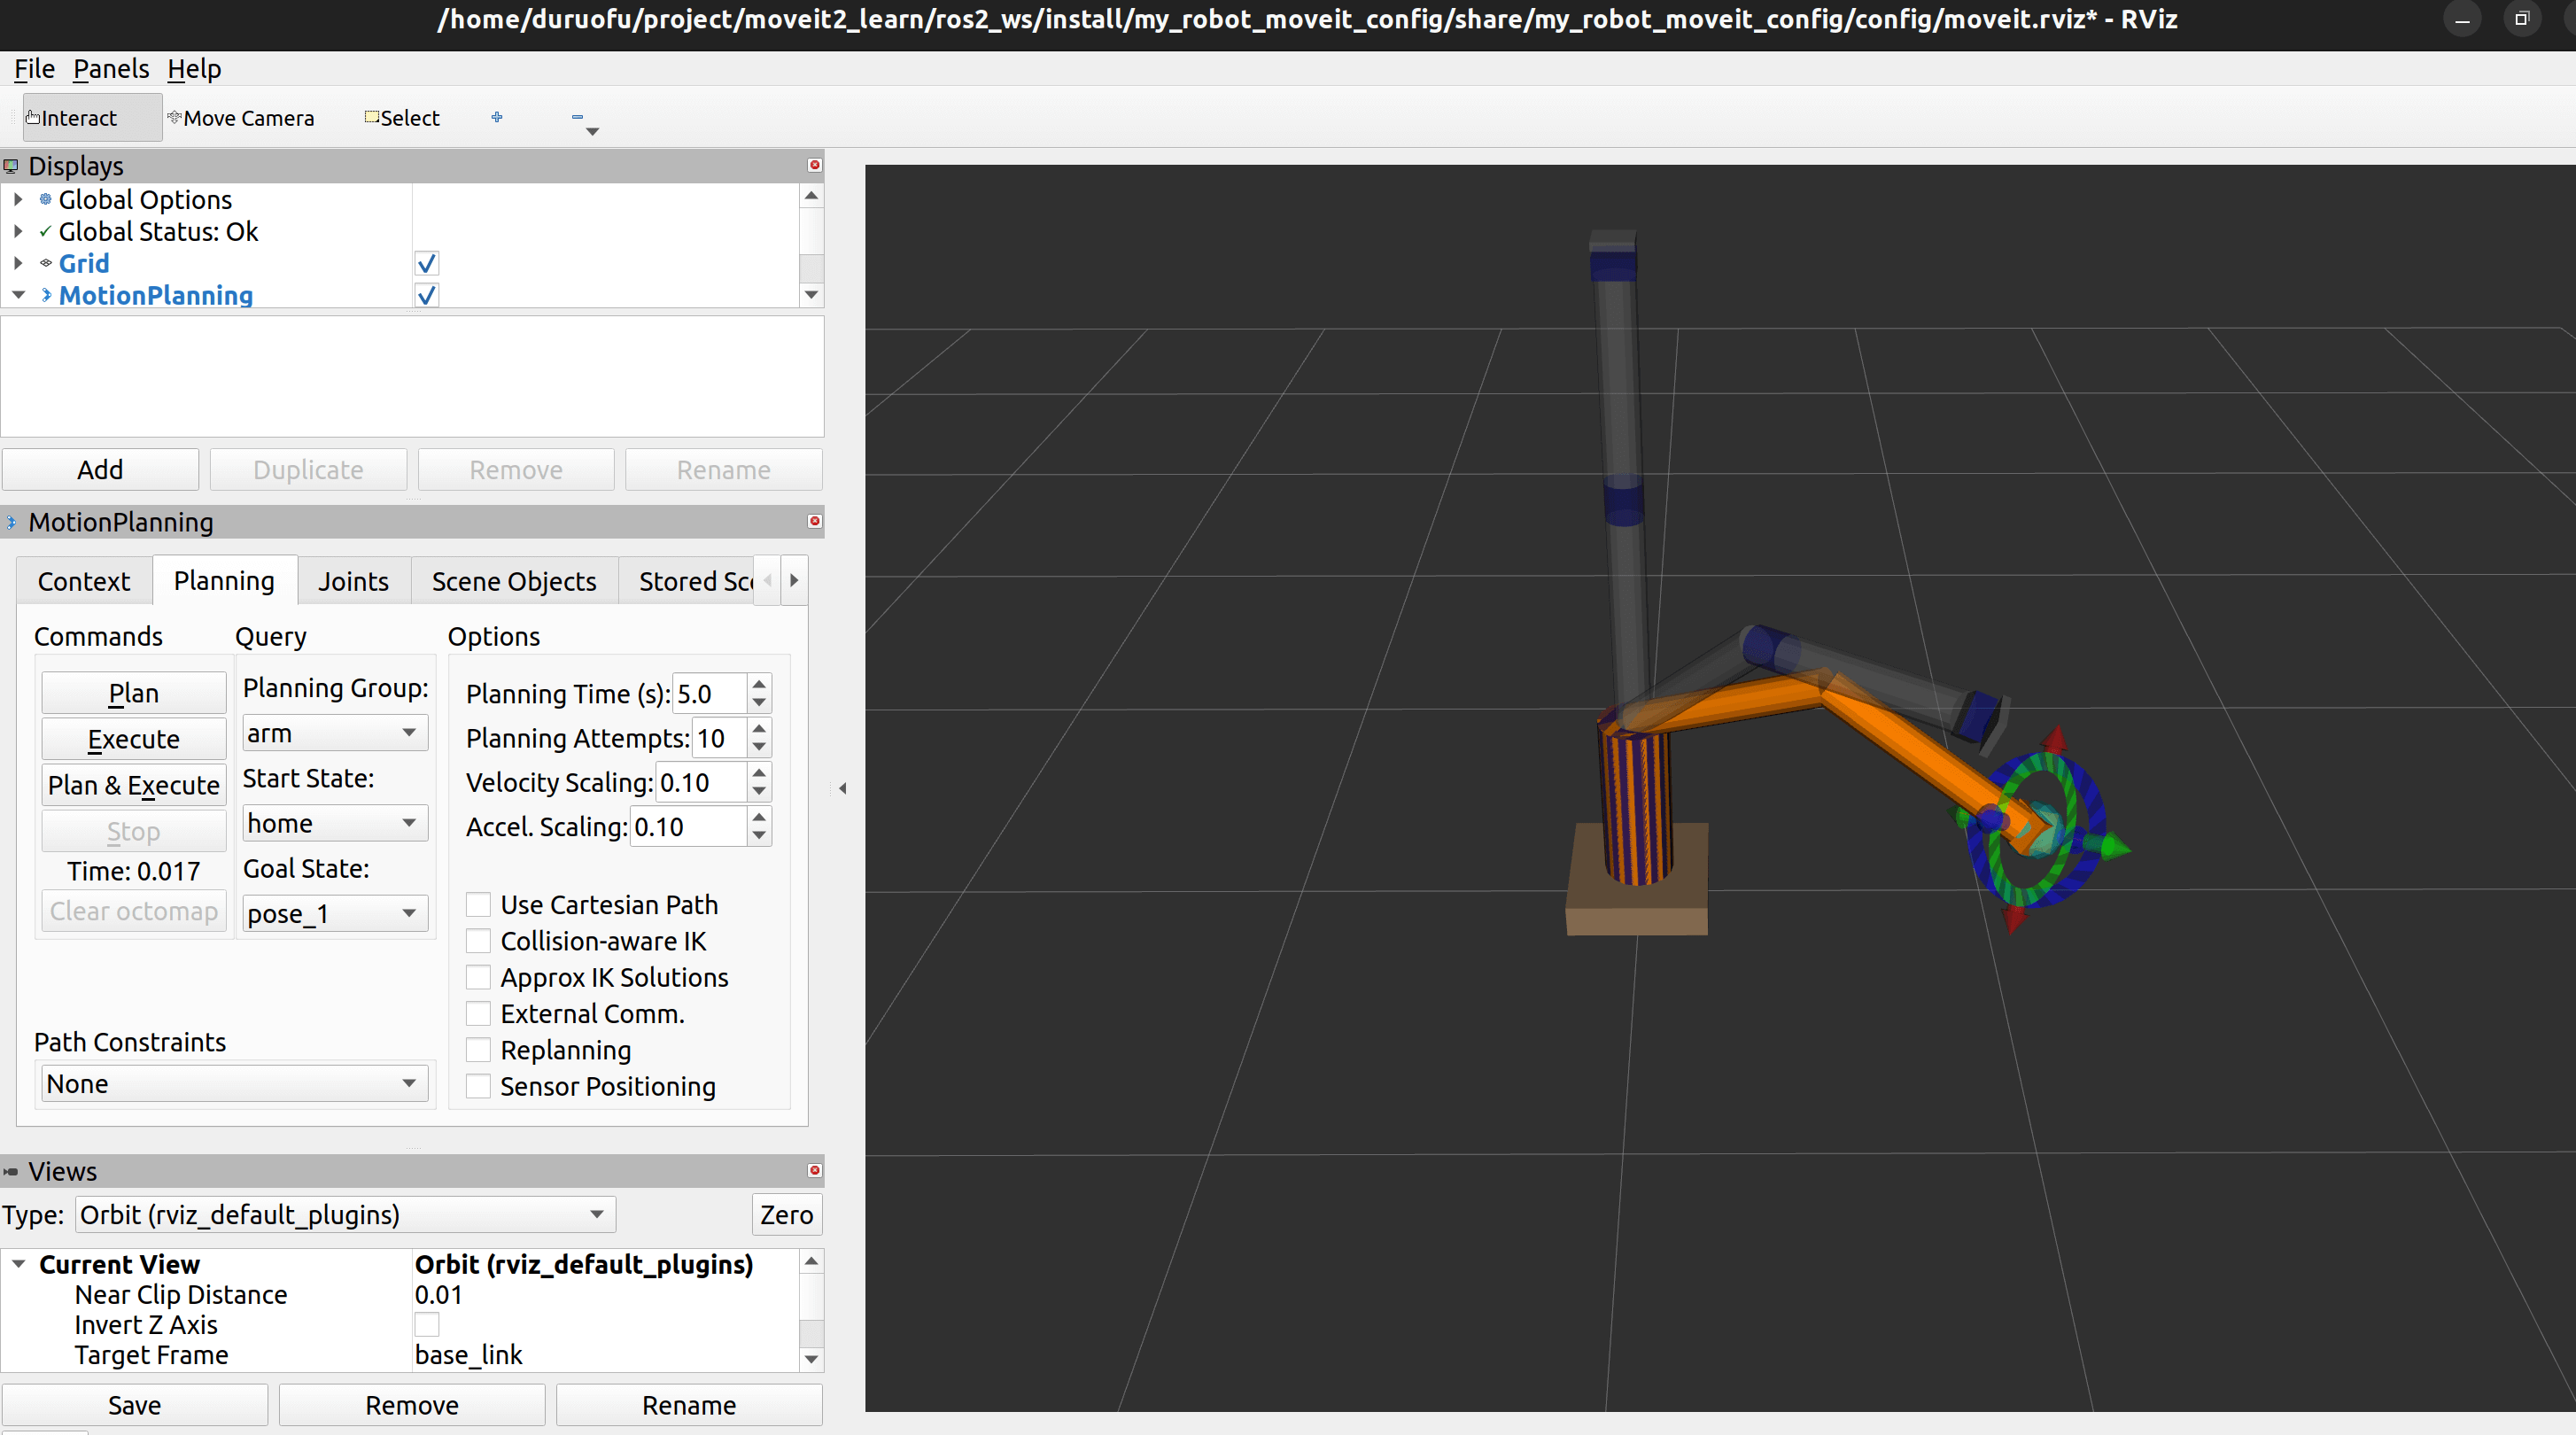
max_acceleration: 1.0再次运行显示如下:
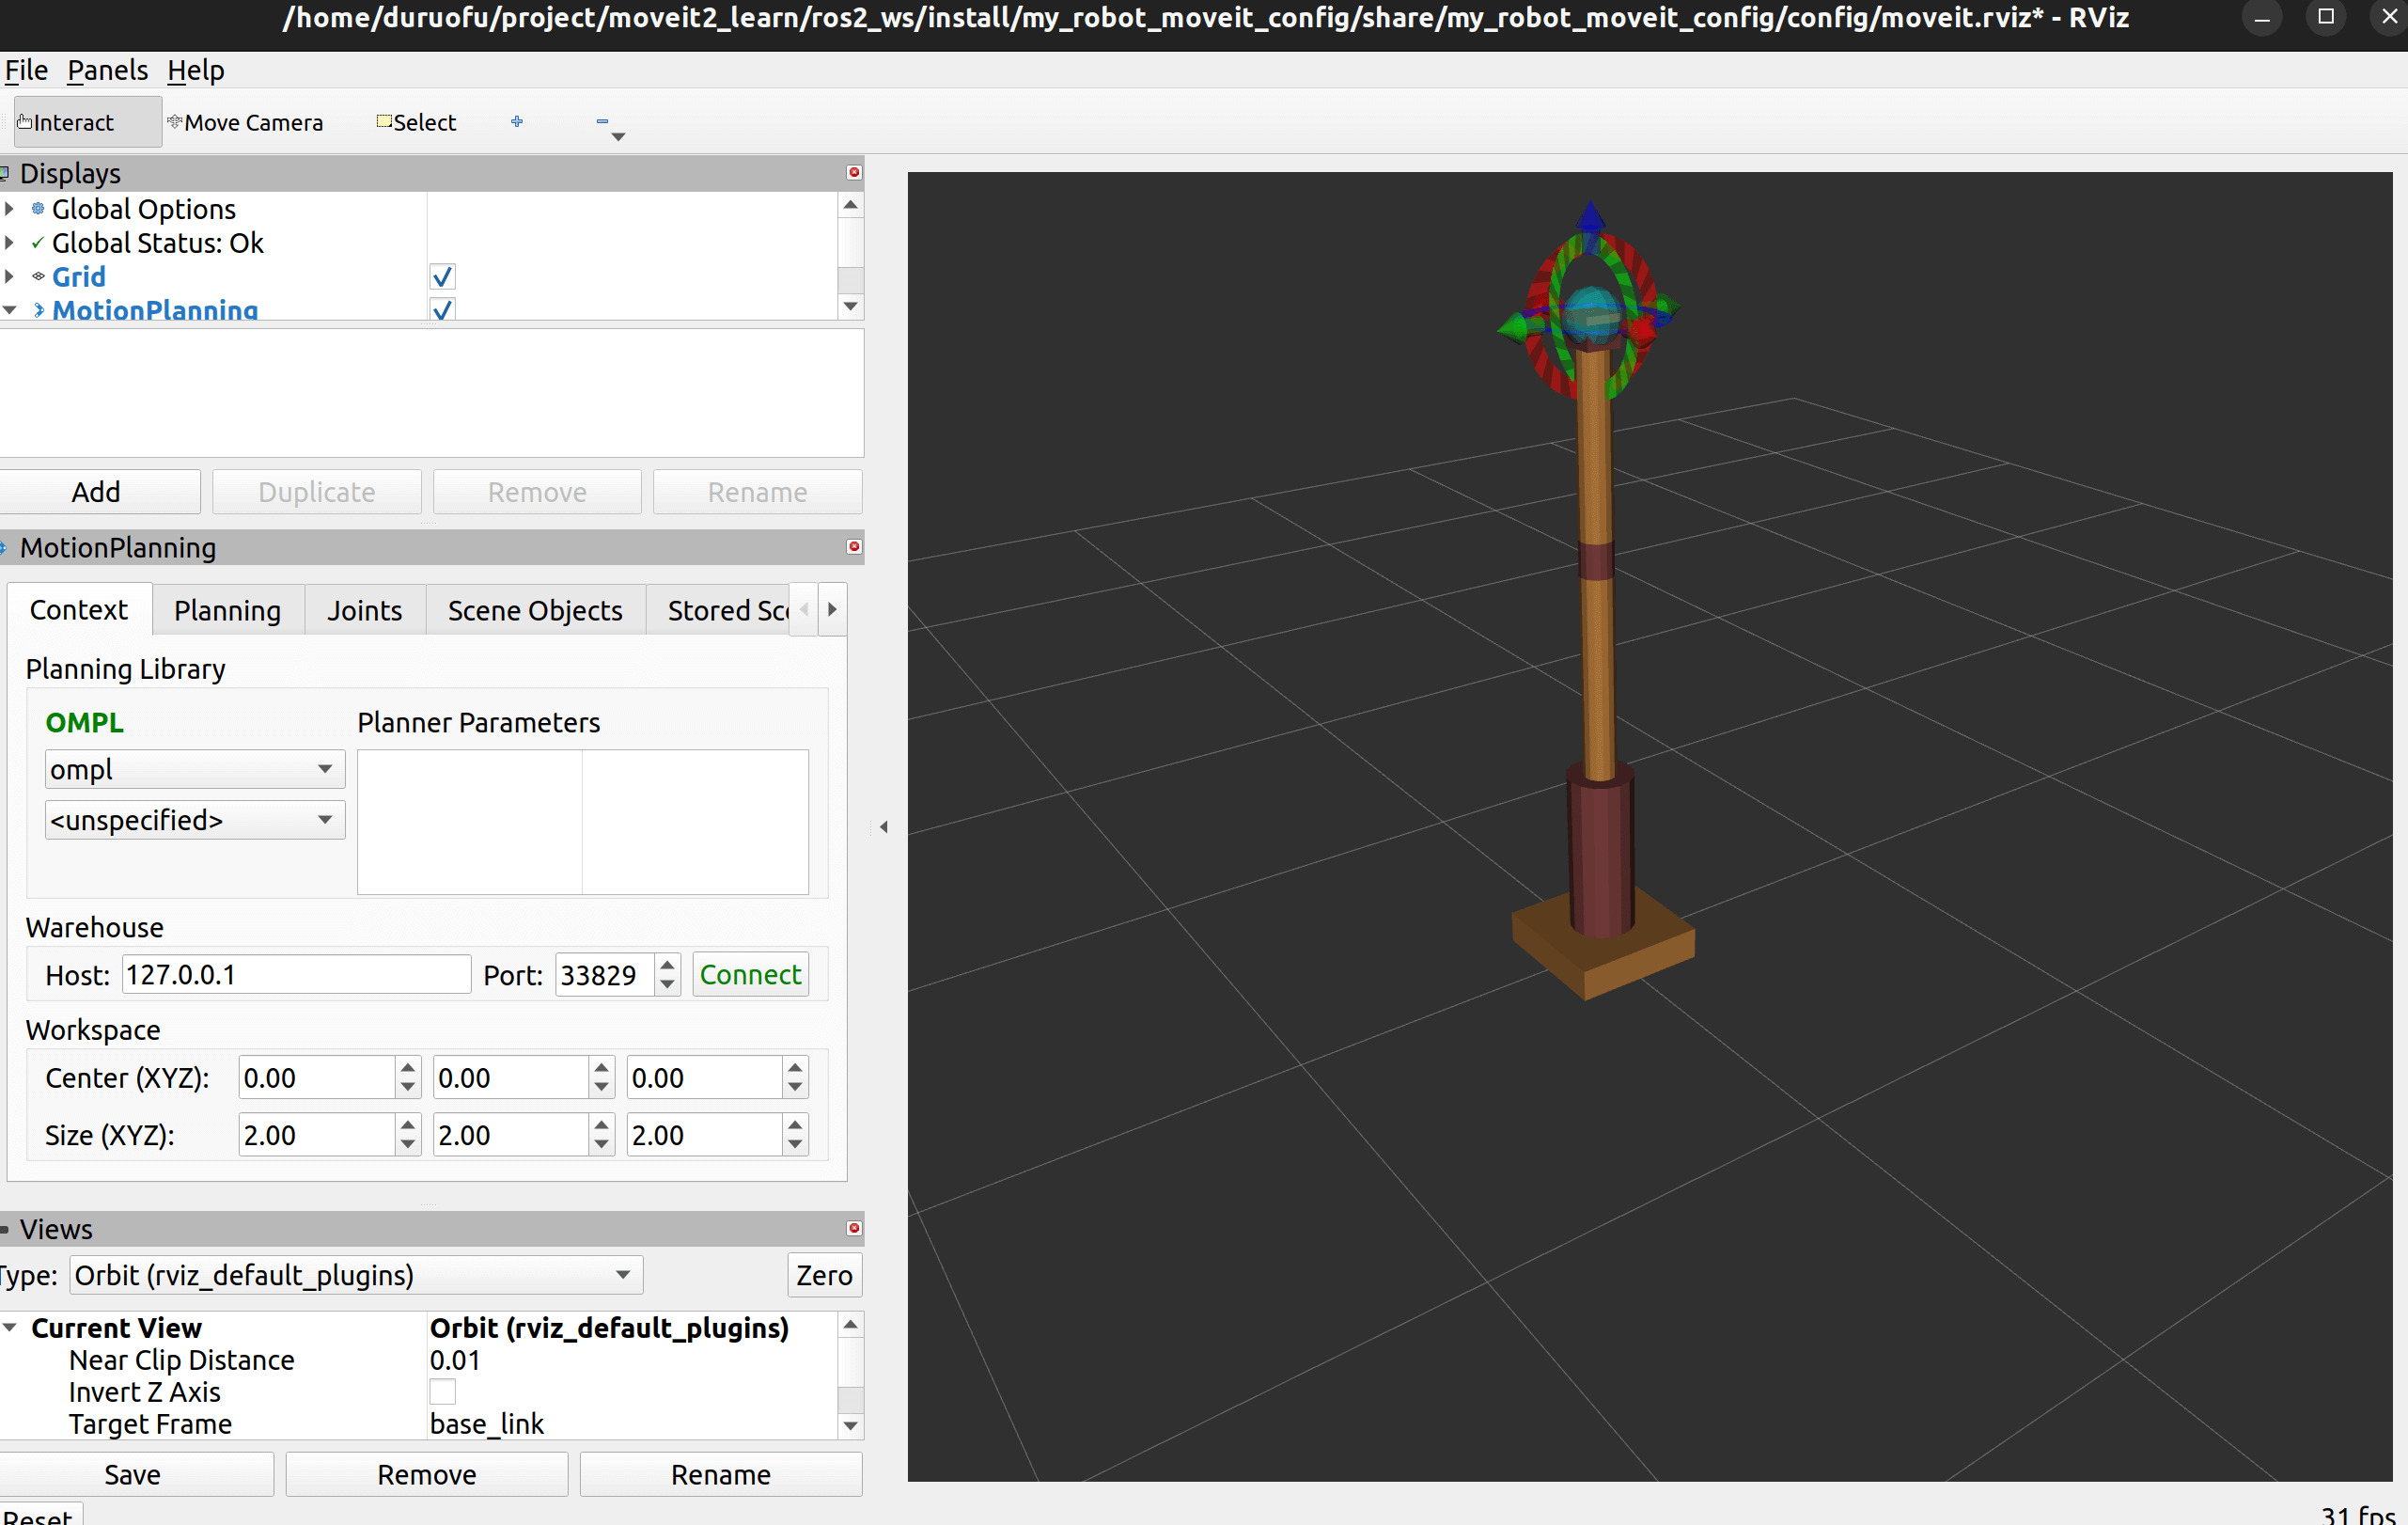
可以在规划页面选择起始和终止姿势,进行轨迹规划:
这里moveit_controllers.yaml也要修改,如下
# MoveIt uses this configuration for controller management

moveit_controller_manager: moveit_simple_controller_manager/MoveItSimpleControllerManager

moveit_simple_controller_manager:
  controller_names:
    - arm_controller

  arm_controller:
    type: FollowJointTrajectory
    joints:
      - joint1
      - joint2
      - joint3
      - joint4
      - joint5
      - joint6
    action_ns: follow_joint_trajectory
default: true这样就可以在Planning页面,实际执行规划动作。至此我们完成了Moveit的基本使用。
代码: https://github.com/DuRuofu/moveit2_learn/commit/4ea962398e99c52964aa172db74cc5b068bc4ca4